Ant-Man

In this episode of How It Was Made, I'll cover a build for the Ant-Man suit from Ant-Man and the Wasp. I'm working on this project in collaboration with one of my frequent partners, Jordan from Jordan's Ironic Armory, and I'll be sharing images from both of us.
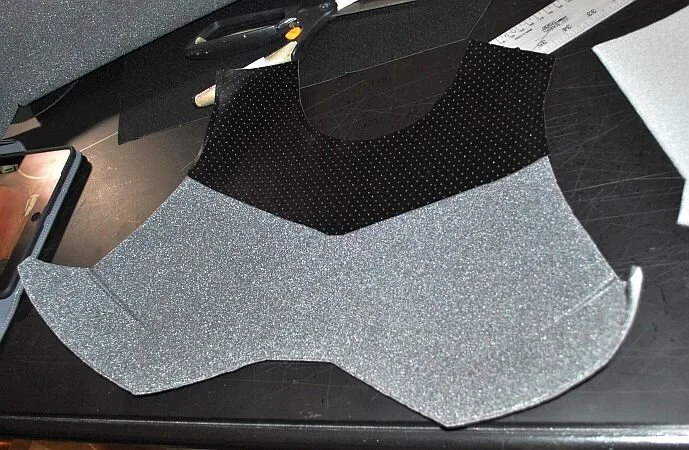
The first step, like most of my builds, was to put together a mock-up of the costume for an initial fitting. The general shapes were sketched onto the mock-up to check the proportions and alignment of the base shapes.


The top of this costume is created in three main pieces: the torso vest, the shirt and sleeves and the neckband. I began with the vest.
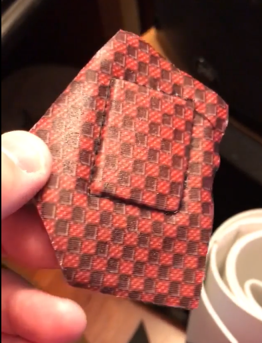
We decided to create a vector pattern for the red areas and have the fabric printed onto spandex. Here are some sewing test images of the printed samples and some early coating tests. The plan is to coat the material and give it some paint treatments to create a more metallic look.

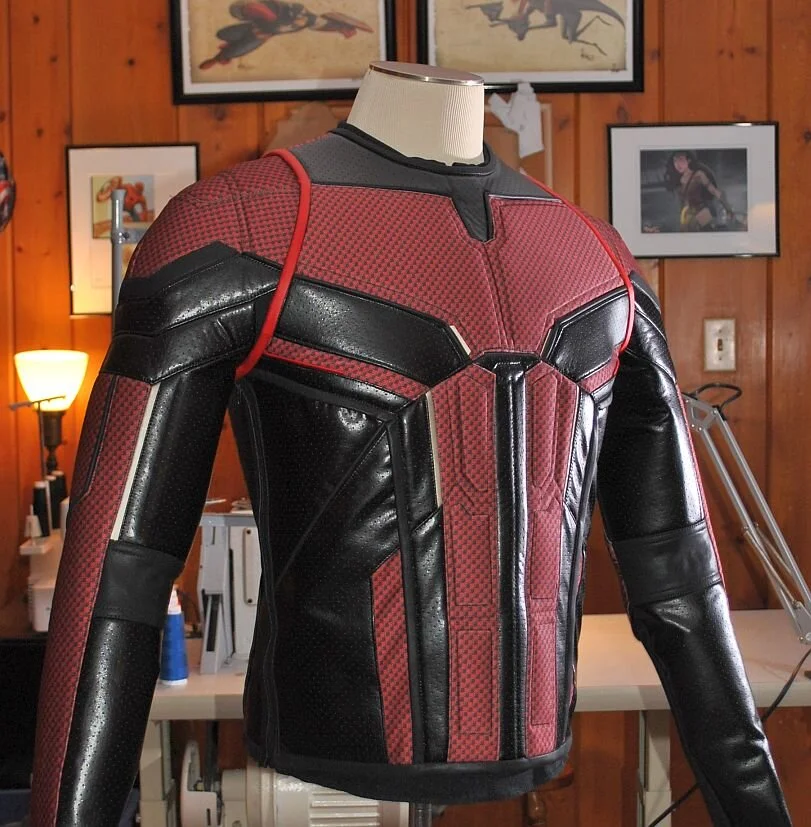
Once the fabric yardage came in from the printer, I started the vest. I began with the chest and worked my way down and around to the back.
I broke the front of the vest into three main sections and attacked each one in order: the chest, the abs and the lower sides.
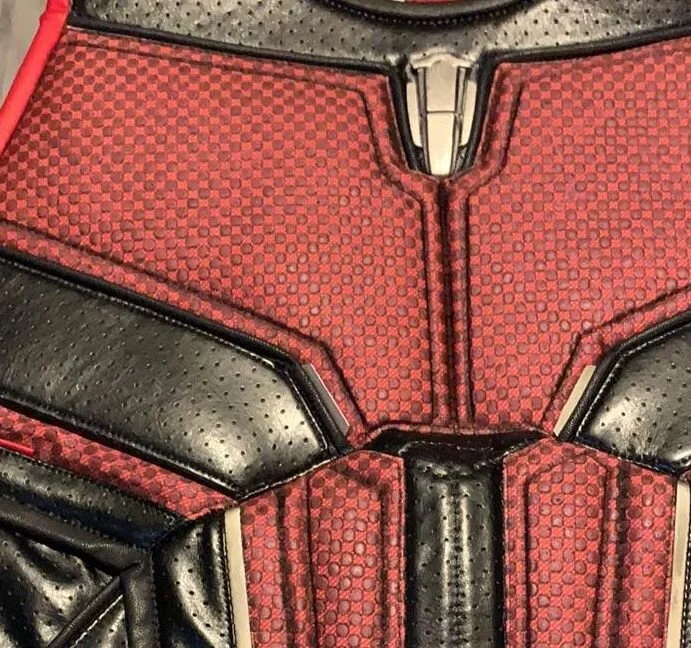
The chest was created using a base of headliner foam. I added the black base areas by mounting perforated faux leather to the foam with Super 77. 2mm craft foam chest plates were added, and the fabric areas were built on top of the base incorporating piping and other details from our reference images.


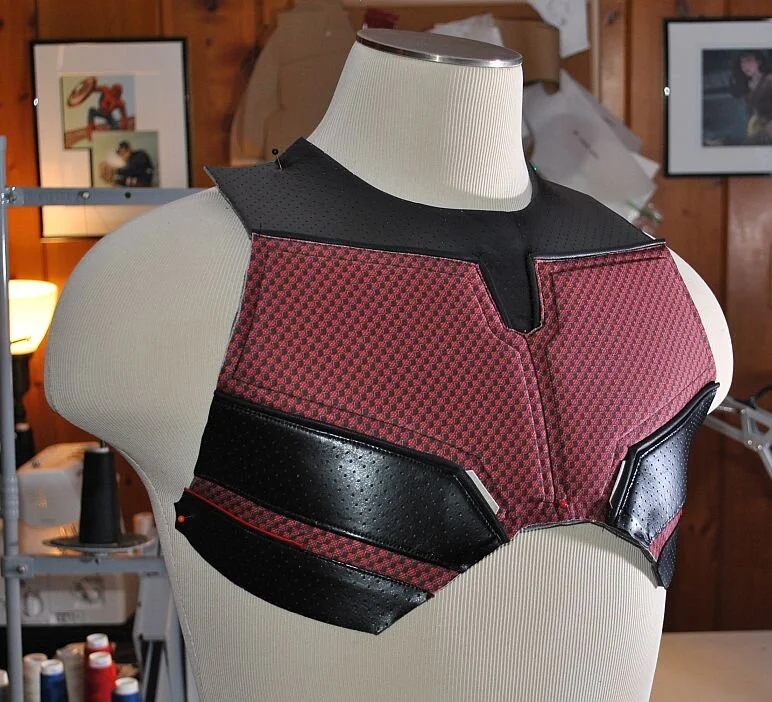
With the chest together, I moved on to the abs. I assembled the abs using the same method of layering headliner foam, 2mm EVA and fabric and working all the sections together, from the base black and details to the 'armored' red abs.
The side front sections were then made by using a muslin base and assembling the layers of detail on top of that.


Once the front pieces were assembled, I could move to the back. The back was made much the same way as the front, except without all the padding.


The vest was then finished on all the edges and completed with side zippers and a small zipper at the back of the neck that the backpack will cover.

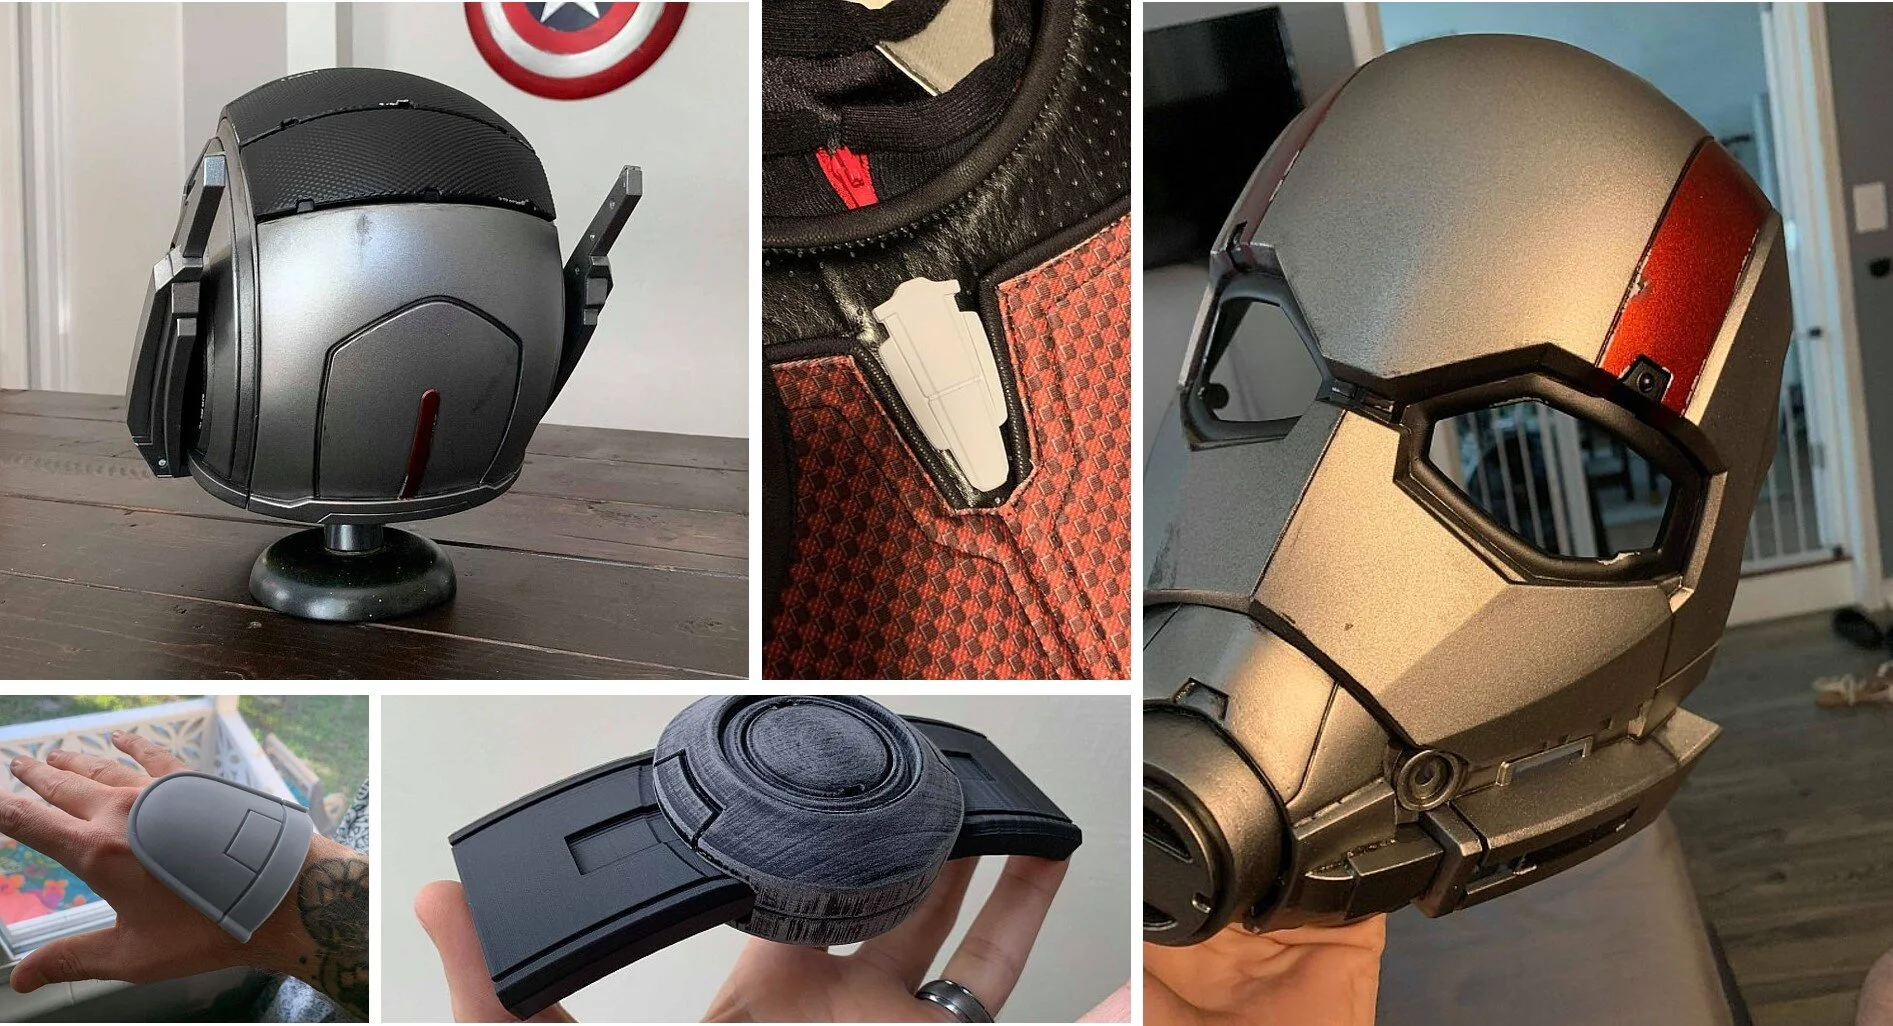
While all this was happening, Jordan was hard at work on the helmet and all of the other hardware. Here are some images of his work on those pieces.
With the vest finished, I got started on the shirt. I first tested the initial mock-up of the shirt with the finished vest to check the spacing and proportions of the style lines.

I worked the sleeves from the shoulders down. I built up the shoulders with headliner foam, details in 2mm EVA and all covered in the main fabrics (red printed, perforated faux leather and thin stretch faux leather).
The lower sleeves were then built up in sections on base materials and attached to the shoulders.


The shirt's body was black jumbo spandex with a short zipper in the front neck, and the sleeves were added. And the vest was then added to the shirt to round out the main components of the upper body.


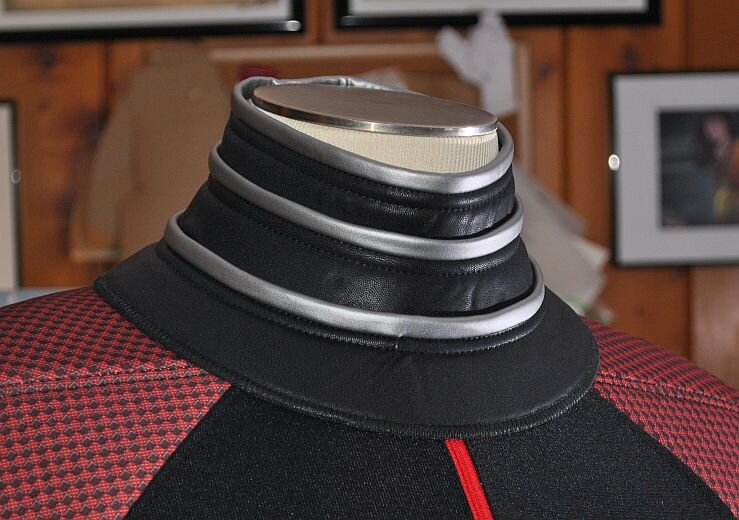
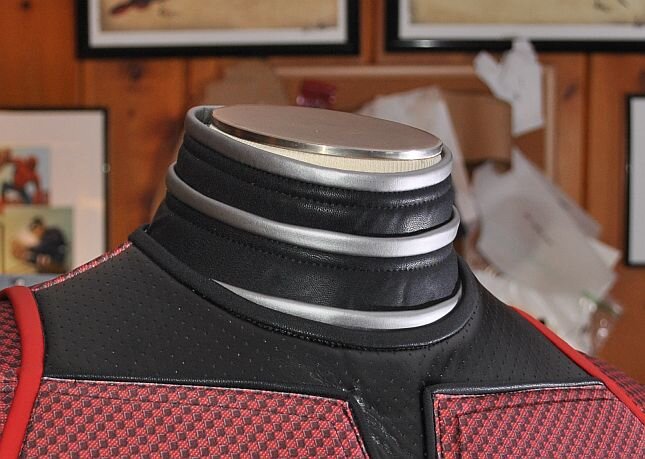
With the two main components of the top done, I turned to the neck. I used the template I originally made for Kylo Ren for this piece and adjusted it to fit Ant-Man. It was sent sewn in black faux leather with gunmetal faux leather accents.
The pants were next. I began by using a pair of skinny jeans that fit exactly how we wanted the pants to fit and traced them for the basic pattern. I then used that to sketch out all the detail lines (just as I did with the mock-ups for the vest and shirt) and used that pattern to build the pants.
I didn't take photos of that entire process, as it happened quickly over two days, but here are the completed pants.


The next pieces to make were the boots.
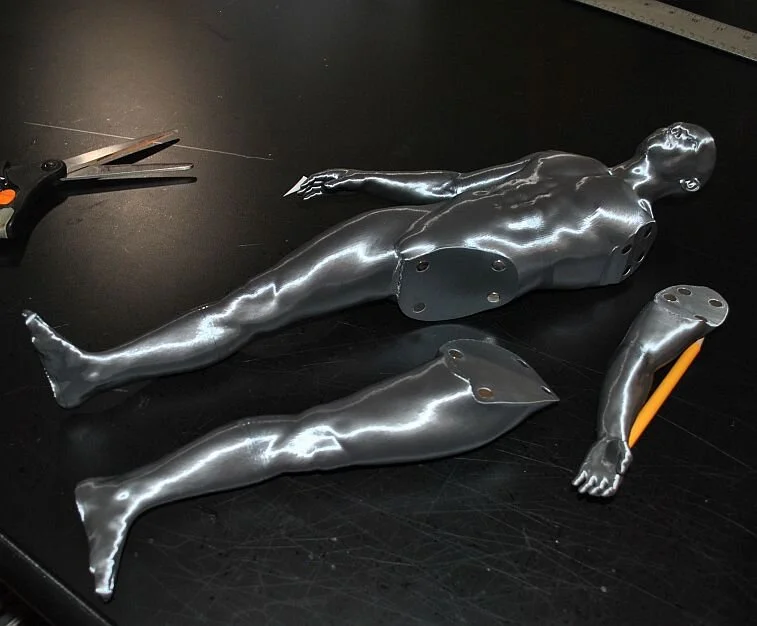
As an aid for pattern drafting, Jordan printed a model for me in 1/4 scale and made one arm and one leg removable. I can then use this scale model to create base patterns without needing to take up all the space that a 1:1 model would take and use a fraction of the materials to develop base patterns.
I took Mr One-Quarter's (as we've taken to calling him) leg and wrapped it from knee to ankle in plastic wrap and tape. I then cut this off him to create a base template for a fitted boot.


Once enlarged to full scale, I could adjust the pattern to the correct size and add the general detail lines. I then used this as the pattern for constructing each boot's front and back sections.
The boots zipped up on the inseam side and needed the knees added. I created a paper pattern to fit and constructed the knees. Once finished, they were added to the boots and a ribbed band around the back of the knee to hold everything together.
The final stage of the boot was the 'spat' that goes over the shoe and connects it to the upper boot. I created this part with an upper spandex 'sock' to ensure it was a snug fit under the upper boot and would not shift around during wear.


The last piece I created was a ribbed wrist cuff that would create the back of the sleeve under the cast gauntlet piece.

And, with that, my part of the suit was complete. I packed all the pieces up and sent them to Jordan for final touches and to have all the hardware added.
To create the texture, Jordan mixed black and red puff paint, painted each square on all the red sections, and flattened them down. When they dried, they created a very nice depth and finish.
One all the pieces were complete, it was time for a test fit ahead of Dragon Con.


And, finally, a few of the shots from the convention (photos by Bryan Humphrey).


