Mandalorian Armorer
We’re jumping on the Mandalorian costume train, but not with the man himself. This thread will follow the construction of the female Armorer.
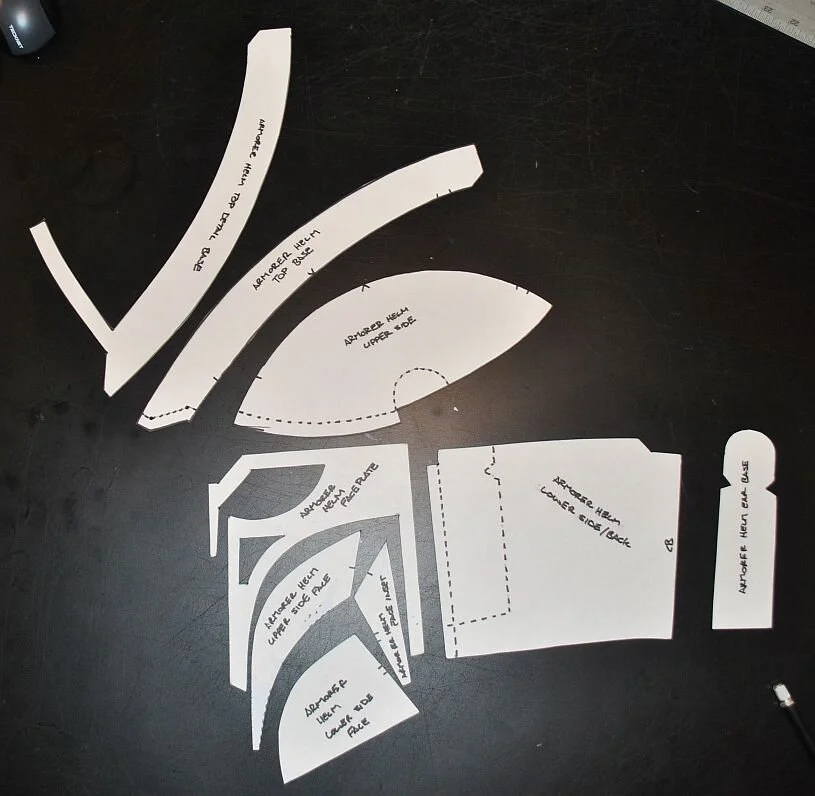
I wanted to start with the main armor pieces - helmet and breastplate - and lock them down as soon as possible. Getting started, I found templates on Etsy from other shops to use as jumping-off points.
Helmet template from TristanMaker
Chestplate template from SurferDaveDesigns
Both templates needed a considerable amount of modification to get the right fit and to revise the helmet for the Armorer. I began by putting the templates together on posterboard and then adjusting them as needed to get the scale, fit and look I wanted.


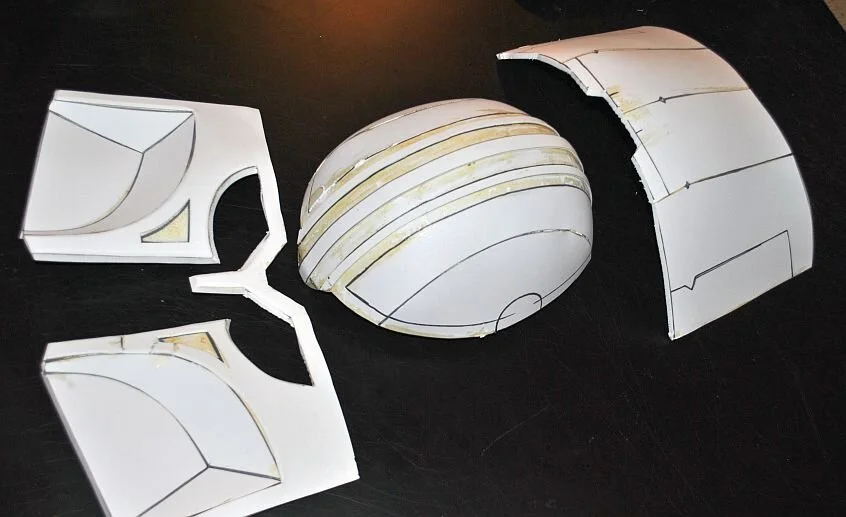
Once I resized the templates and mapped out the details the way I wanted them, I began a test run of the helmet to refine the template further. I built up the base shape of the helmet in 6mm foam and used 2mm foam to lay out the faceplate and the stripes that go over the top and back of the helmet.


I was happy with the test version and the scale and placement of the various details. I then cut the test helmet apart and used it to redraw a new version for the final build. The actual helmet build got underway using the following:
6mm EVA foam for the main shape - top and sides/back - and the ear details
8mm EVA foam for the faceplate and base of the ears
2mm EVA foam for the detailing stripes


I then moved on to the torso. To build the foam version of the breastplate, I wanted to get the body of the tunic done so I could test both pieces together. The breastplate is made of 6mm EVA foam
The tunic and pants are being built in a dark green twill. The tunic has a back zipper, layered sleeves, and burgundy faux leather details.


I then took a brown belt base I had to hand (created for my RPG Rogue build) and tested all the pieces for fit and scale.


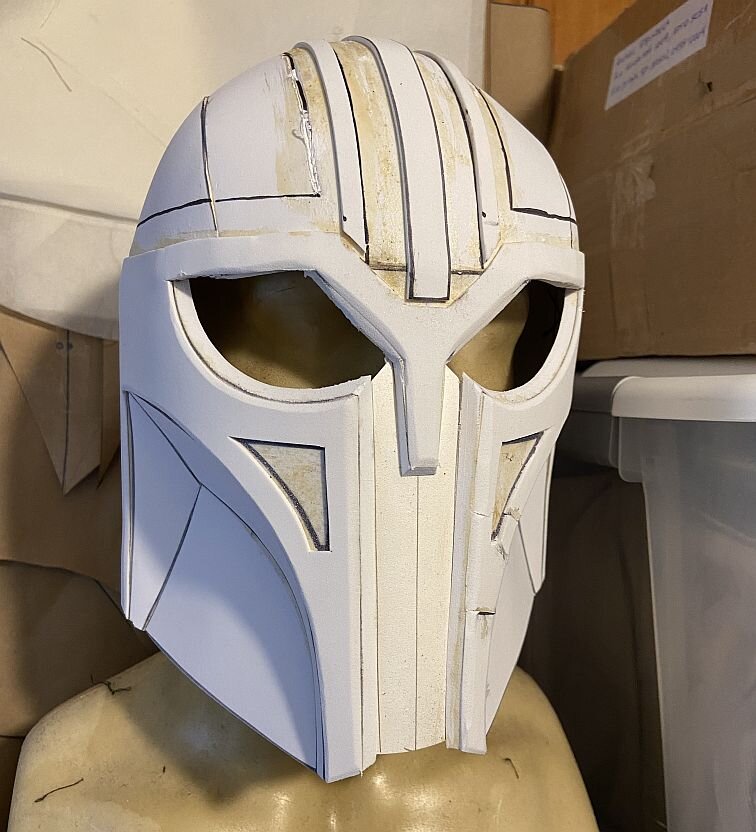
The rest of the detail pieces were then added to the helmet, and the horns were made out of foam clay and glued on with contact cement. The entire helmet was coated with Plasti-Dip, and a flexible caulk was used to fill in seams and clean up edges.


After all the seams were finished with caulk, the helmet got a final coat of Plasti-Dip, primed and given a base coat with metallic brass spray paint.


At the same time, I drafted a template for the back of the neckline for the breastplate. Once that was added, the entire piece was coated with Plasti-Dip.
Next, I created templates for the shoulder plates. These were cut from 3mm EVA foam, and the hash marks were lightly scored into the foam. I then heated the foam to open the pattern and shaped the pieces over a form. They then got edging of .5” wide strips of 2mm EVA foam.


Once all of these pieces were coated with Plasti-Dip, they were given a base coat of burgundy paint.


The apron was based on a simple skirt pattern consisting of a layered front section, a back section with layered details, and a pointed bottom edge.
The front of the apron was created by cutting a base out of black broadcloth. Then, working from the bottom up, each layer was cut, the bottom edge bound in thin faux leather and sewn to the base fabric. Each layer overhangs the one below by .5” to hide the stitching that attaches it to the base.
When complete, the layered piece wraps to the side back and overlaps the back piece. Three snaps on each side will connect the waist and top 3 layers to the back piece, and the rest will hang open.


Here are all of the pieces at this point.


Next up: painting continues and the accessories get underway. Stay tuned!