Bullseye
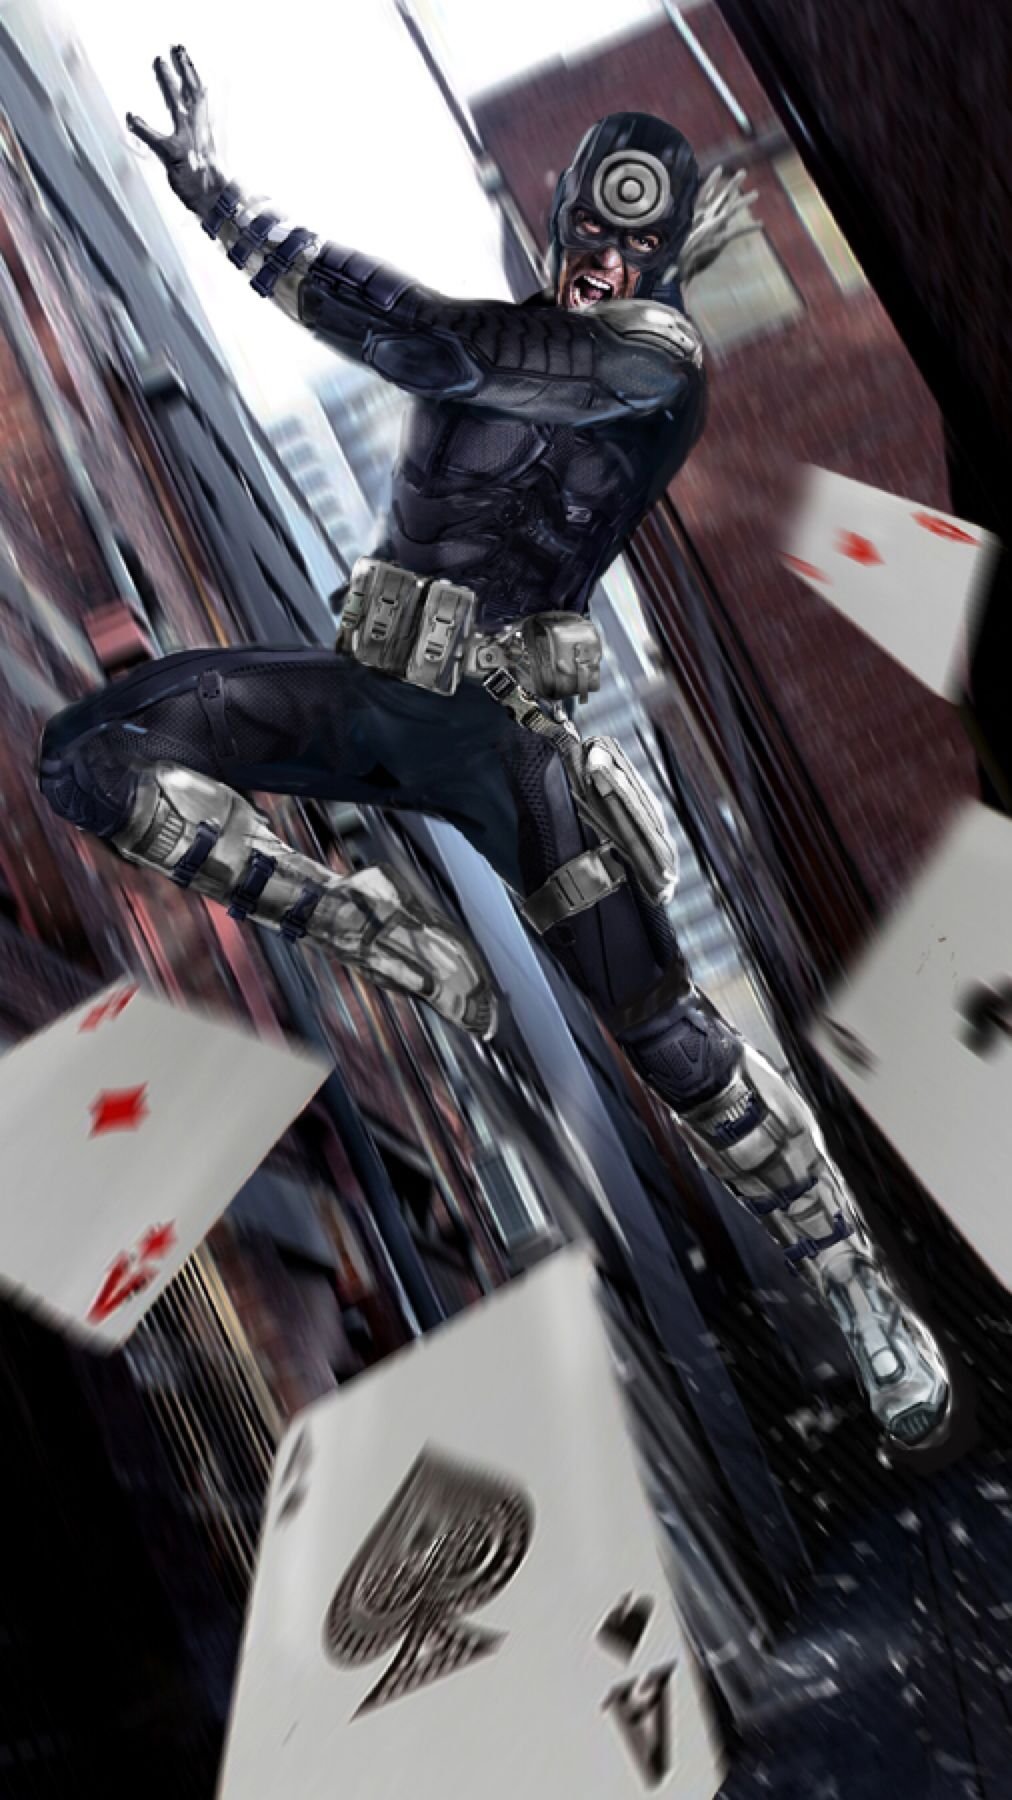
This thread will cover the build of a custom concept Bullseye. A villain primarily seen in Marvel’s Daredevil series, Bullseye is a master assassin and is probably most famous for killing Elektra. This version of the character is based on this artwork by John Gallagher that was sent to me by the client.
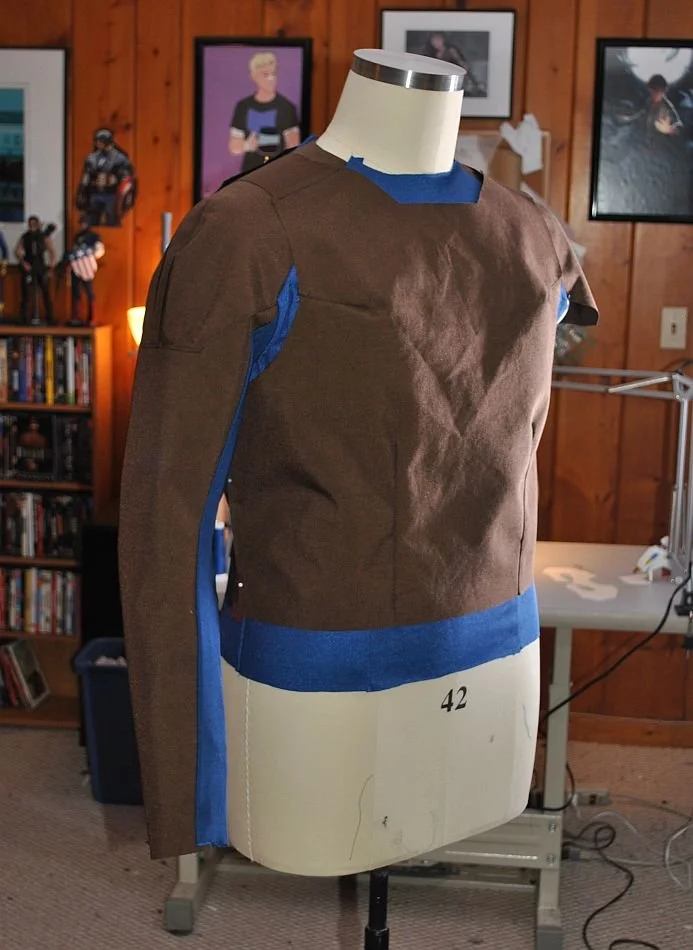
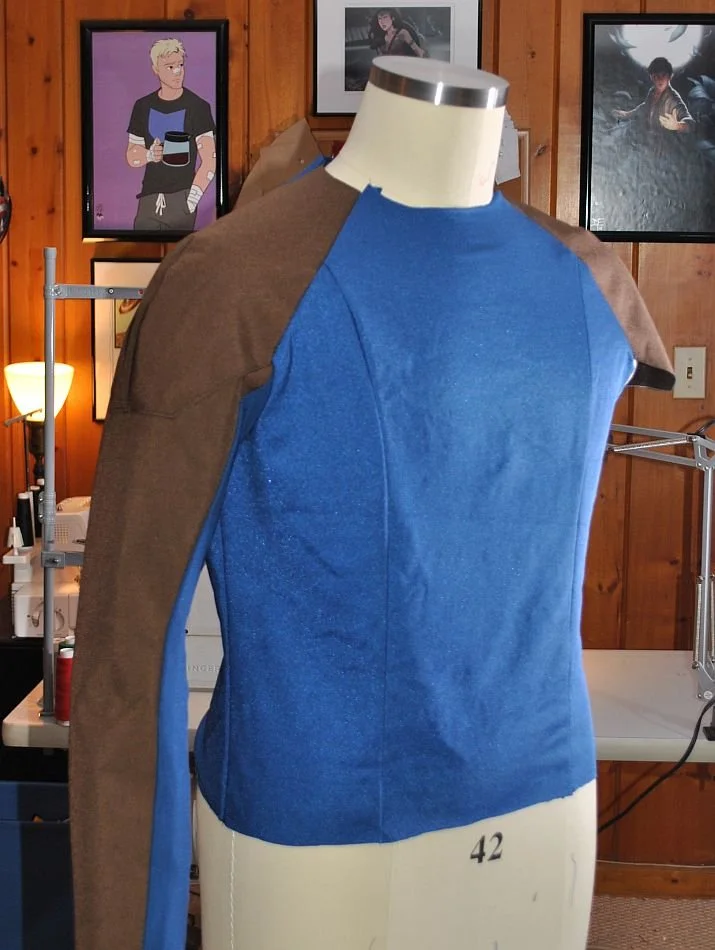
I began the project by working on the mockups for the upper half of the suit. Working from measurements sent from the client, I created fitting blocks for the shirt, vest, and cowl.
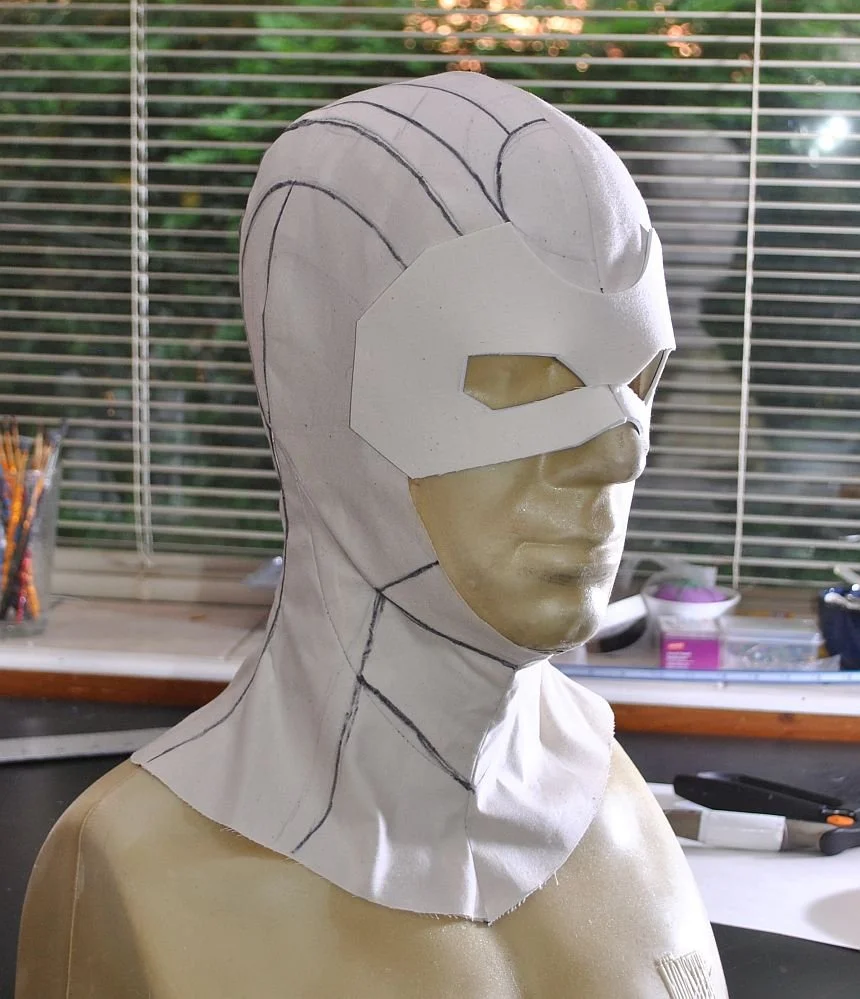

Once I had the fitting notes back from the client, I began working up the final patterns and kicked off the build. I decided to begin with the cowl.
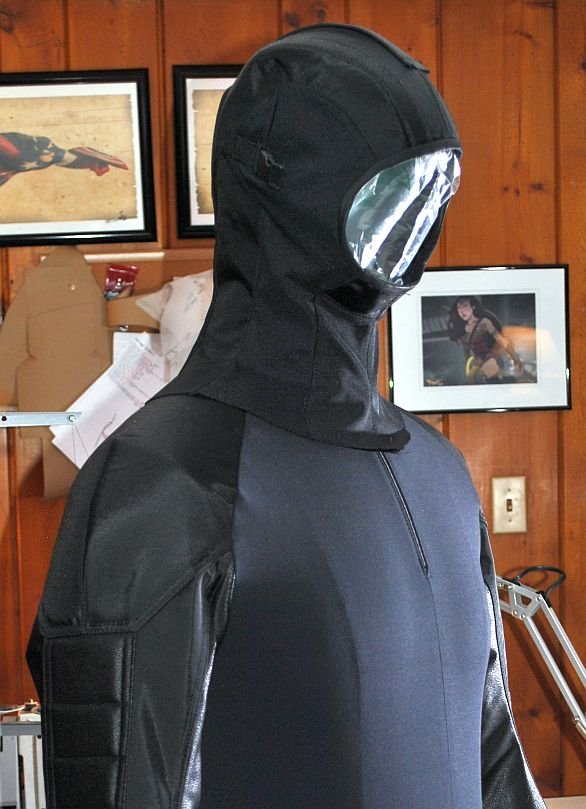
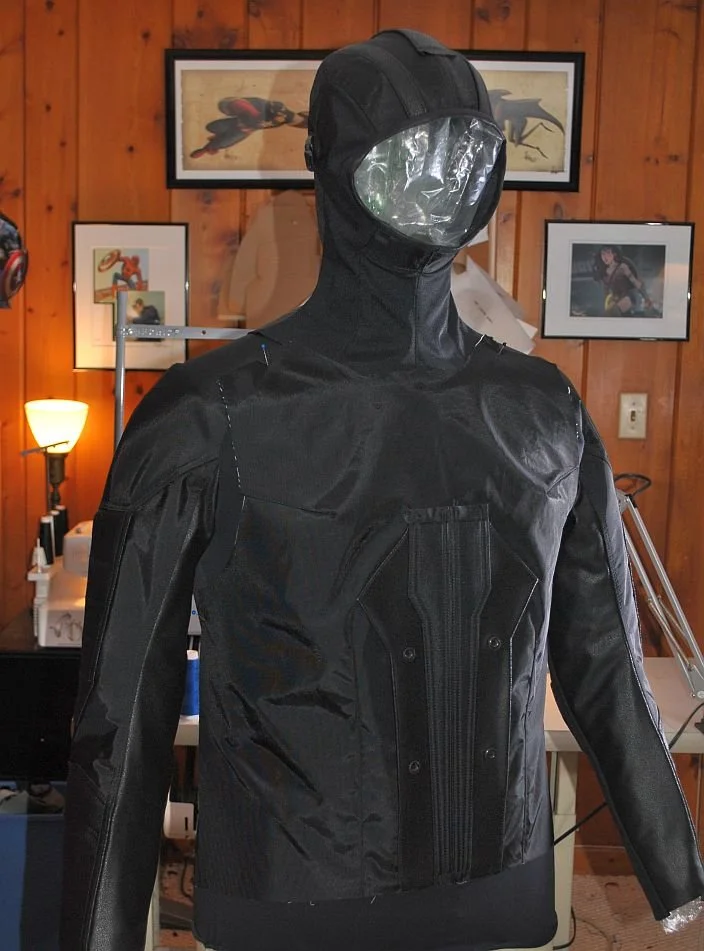
The cowl is based on a new design I’ve been working on, and I’m testing it with this project. It will be largely fabric with some stretch areas built in and some fabric-covered EVA foam details. The faceplate will be EVA foam that integrates into the cowl, and the target for the forehead will be cast in urethane rubber.
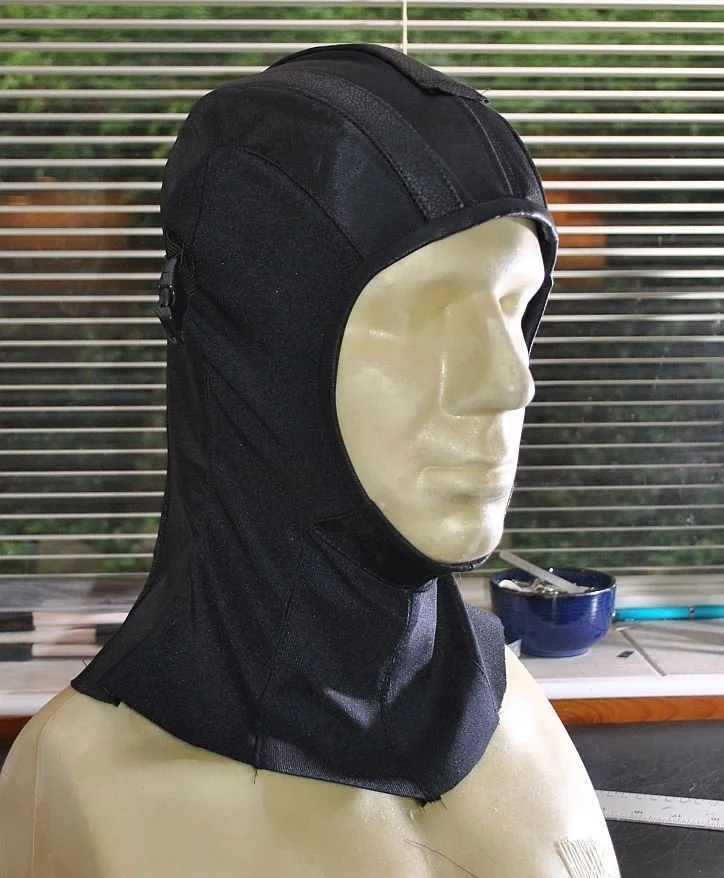
I began by taking the mockup apart and laying out the pattern. The cowl was then cut from the new pattern and built with Cordura, jumbo spandex, and faux leather with 2mm EVA foam.


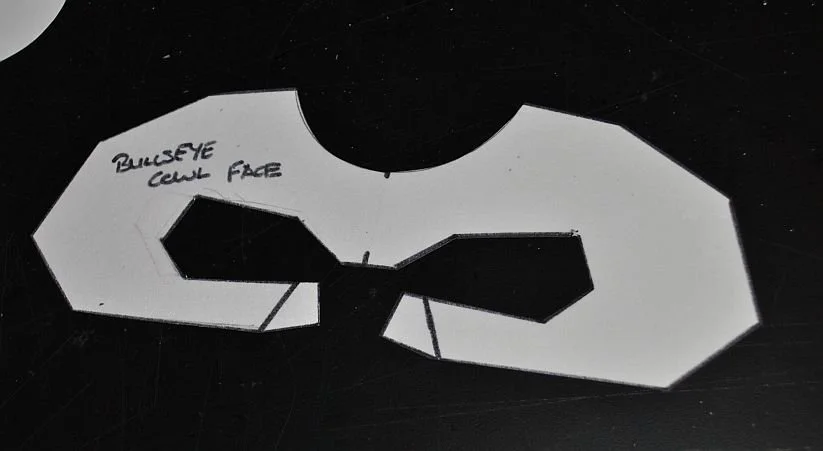
The faceplate was then finalized and cut from 6mm EVA foam. The detail lines were cut into the foam with an Xacto knife, and the “rivet” details were made with a Dremel. Heat was applied to finish the details and allow for shaping. The faceplate will be coated with PlastiDip and painted before the final straps and clips are attached.


In the meantime, Jordan’s Ironic Armory has been working on modeling and printing the forehead target and shoulder plates based on my templates.


While the accessory pieces were underway, I started on the upper body. I began with the shirt sleeves. I took the mockup apart, traced out the sleeve patterns, and sketched out the details.
The base for the sleeves is Cordura, backed with muslin for the outer sleeves and faux leather on the undersleeves. I added the “armor” details using faux leather backed with headliner foam. There is also an inset of jumbo spandex at the back of the sleeves to aid movement.
Once the sleeves were constructed, I added the shoulders and finished the body of the undershirt.


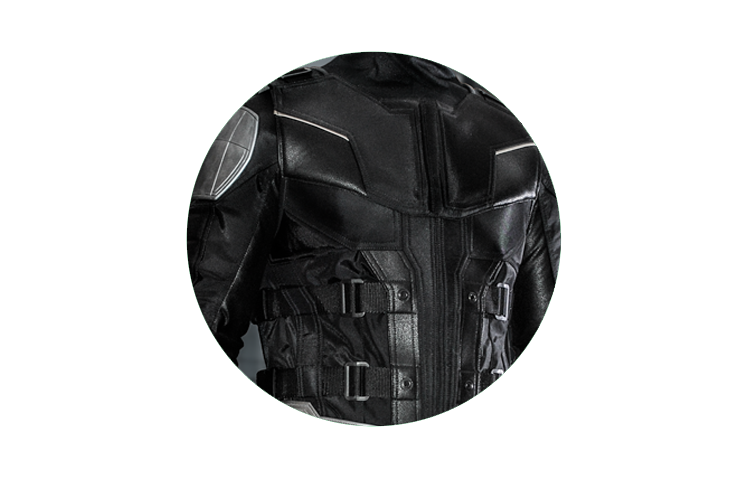
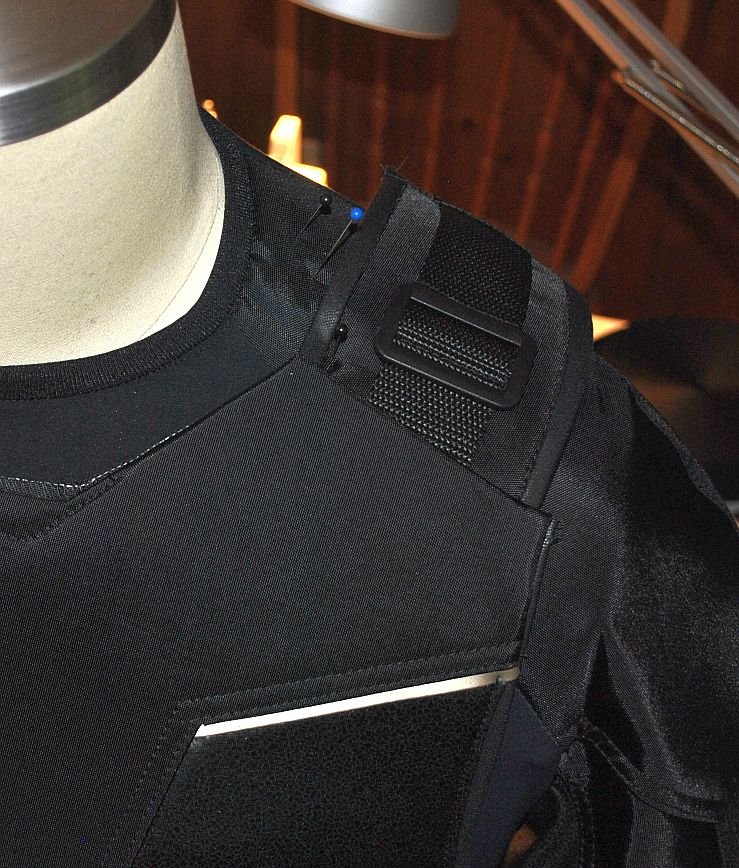
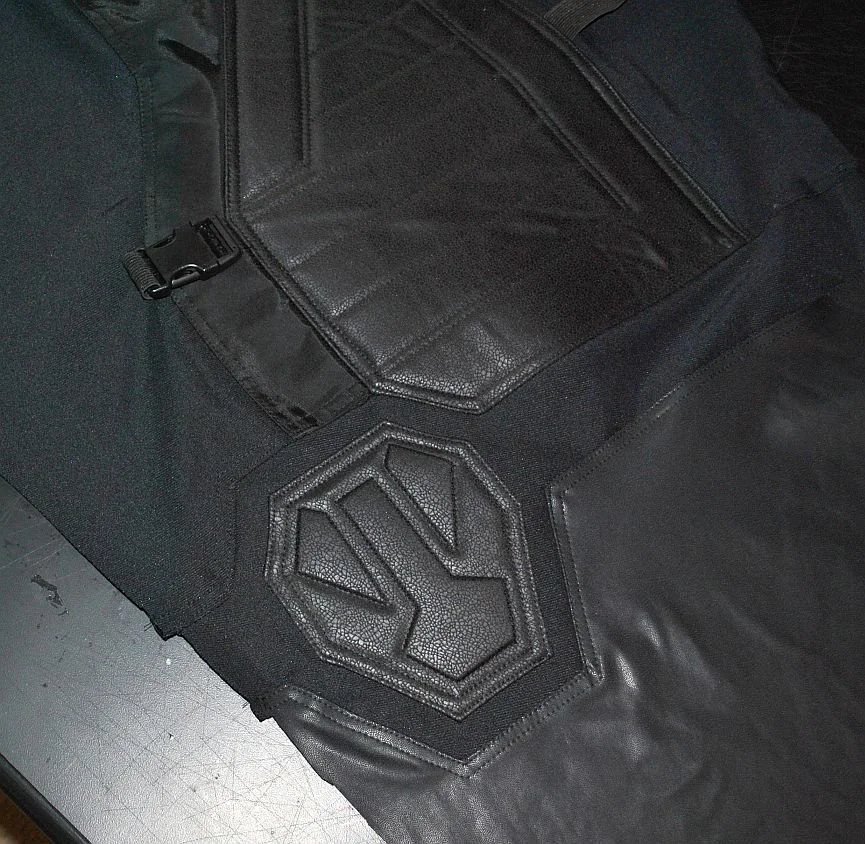
Next, I got started on the vest. The vest began with a base of black Cordura backed with black muslin, and then the rest of the detail layers were built on top of that.
As the reference image doesn’t have much of a view of the front of the torso (apart from the abs), I decided to go in my own direction and borrow details from both Punisher and Daredevil in order to make this piece look like it would fit into the Netflix/MCU canon.
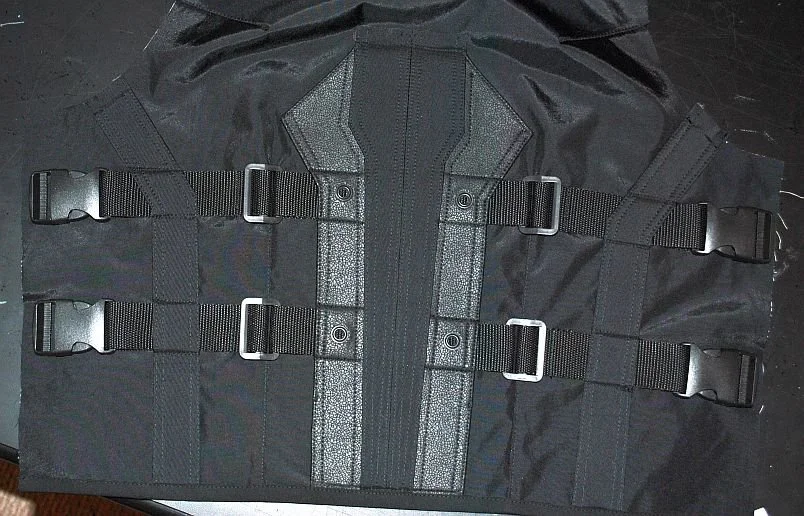
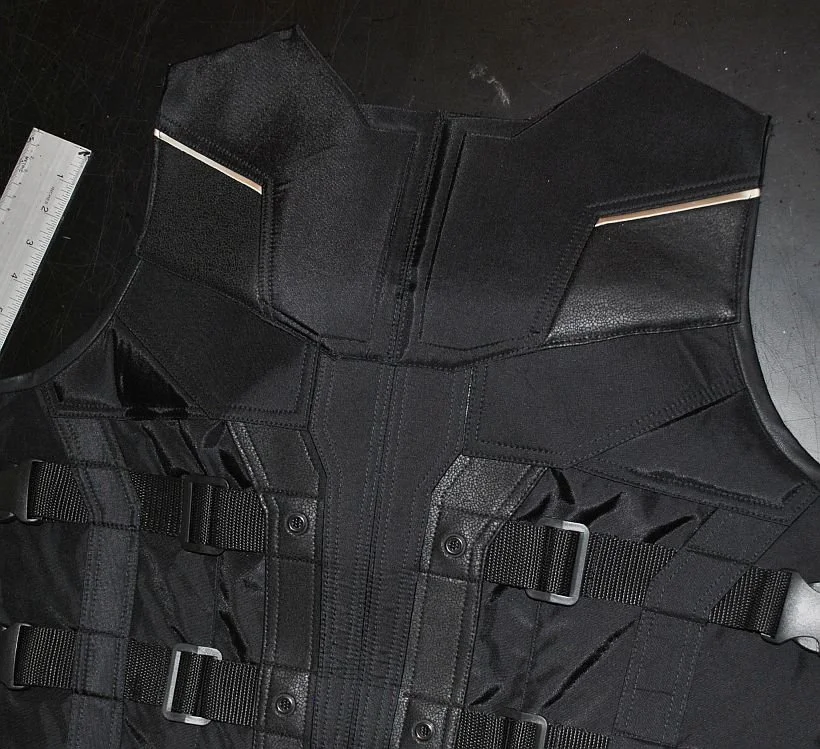
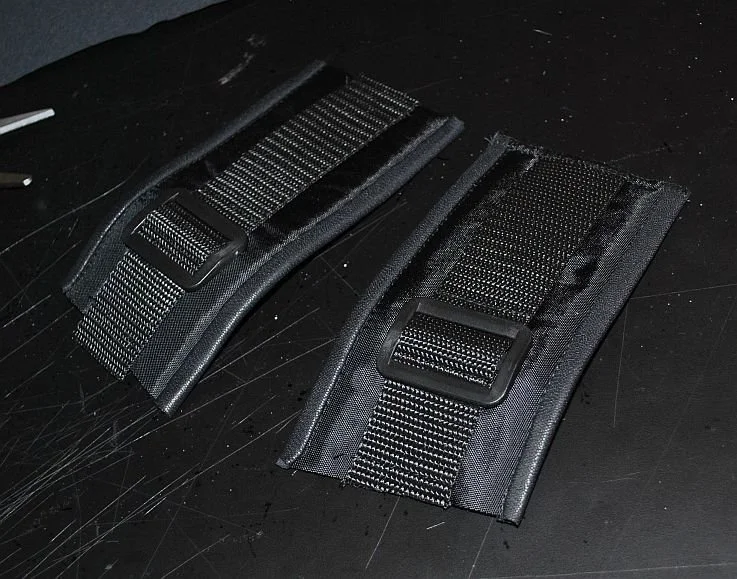
The straps were next. These were lightly padded with headliner foam and decorative webbing, and tri-glides were sewn to the top. These were then attached to the front under the chest plates.
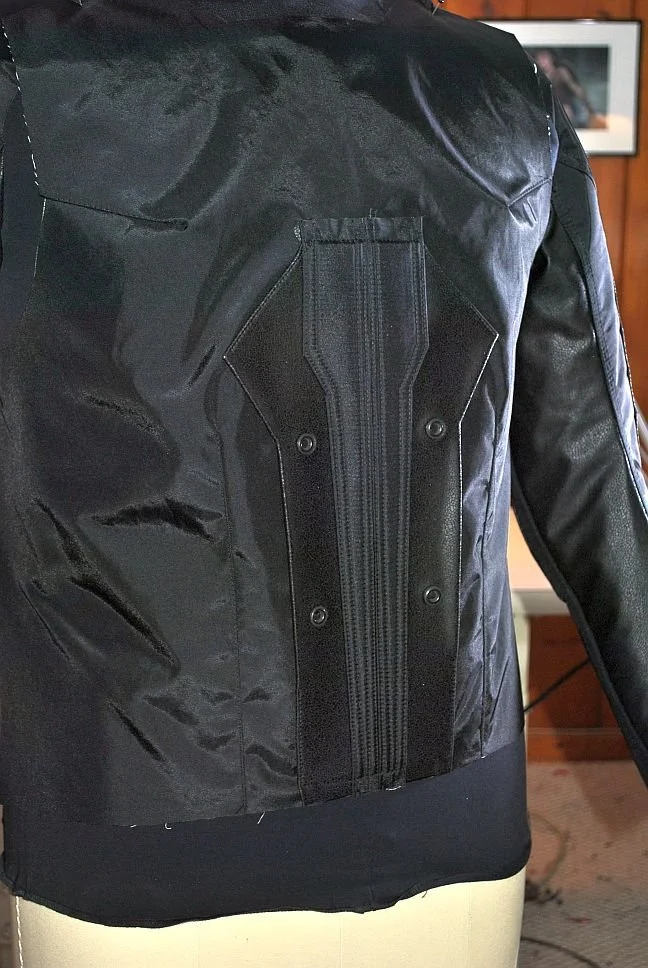
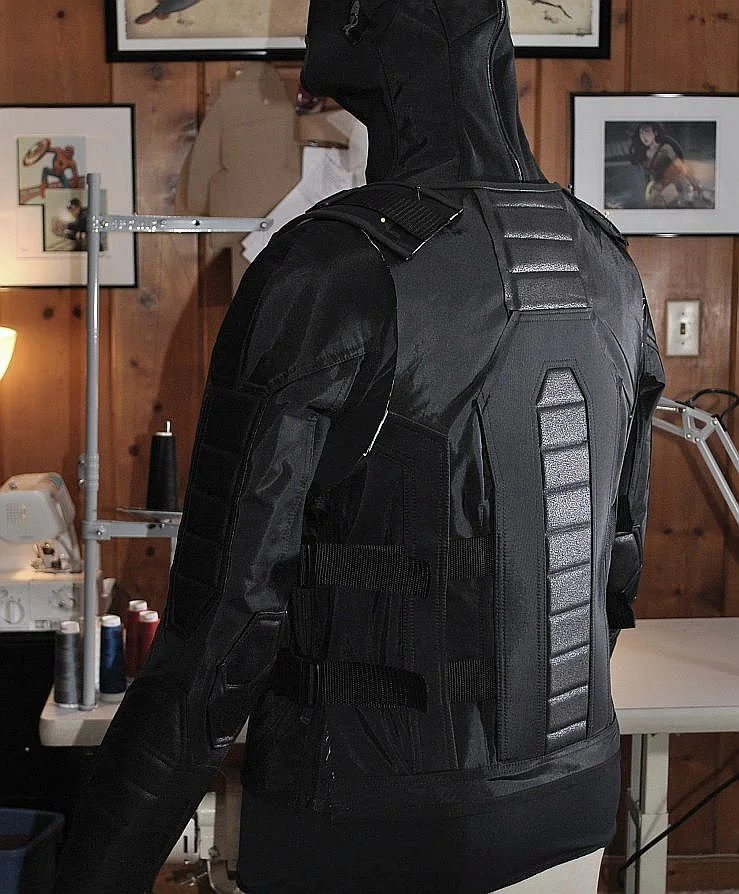
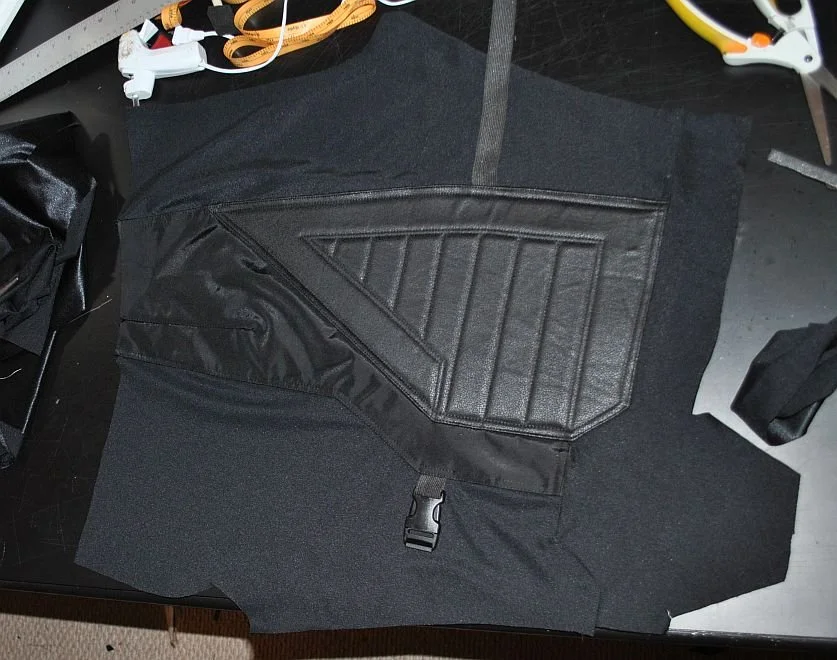
To complete the vest, I built the back. Though there are no pictures of the build process for the back, it was done in the same manner as the front- a lined Cordura base with the details built up from headliner foam, 2mm craft foam, Cordura, and faux leather.
The image below shows the vest before the shoulder blades were added. Once complete, the back was attached at the shoulders, and side zippers were added.
Once the top of the costume was complete. I moved on the the pants. The pants have faux leather details that tie into the vest. cordura panels with angled seam lines, feature stretch panels in the crotch and lower legs, and have elastic straps and clips around the thighs as in the source artwork.

Now, it’s time for accessories!
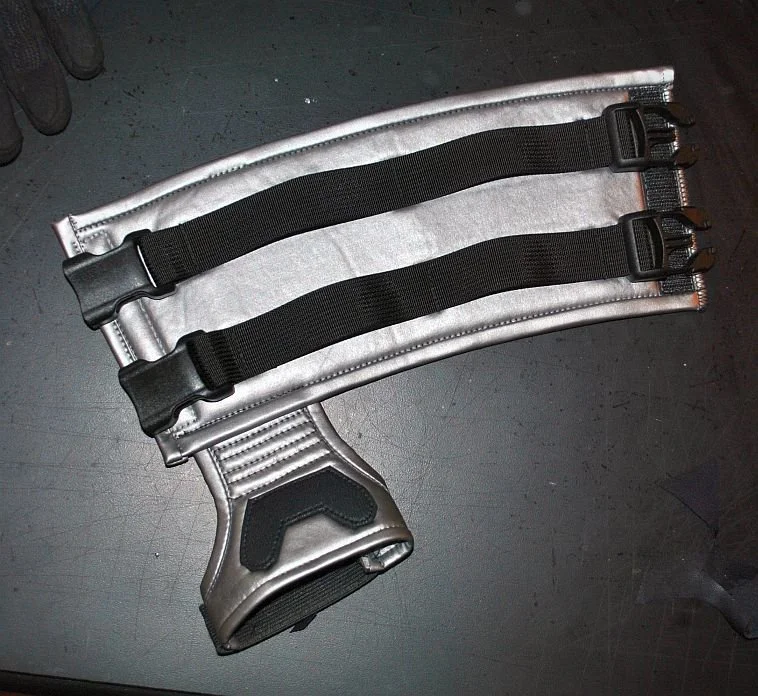
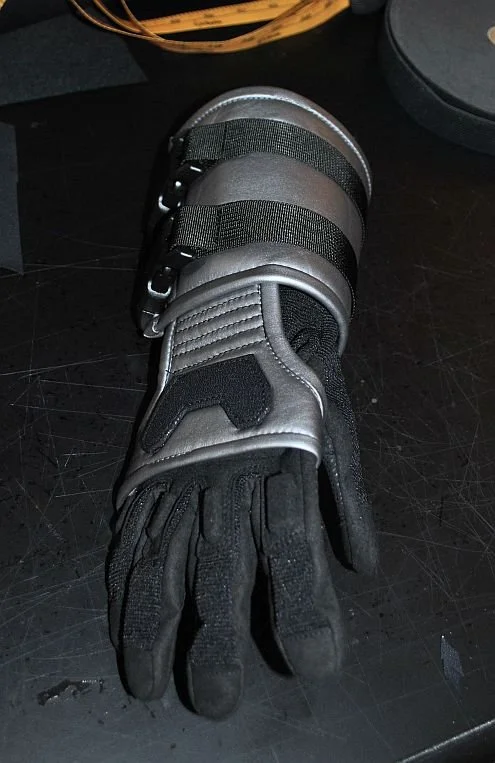
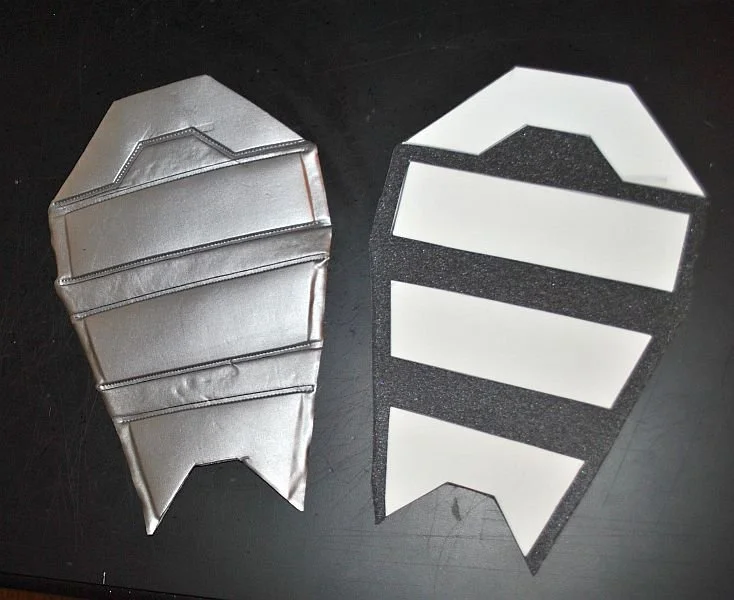
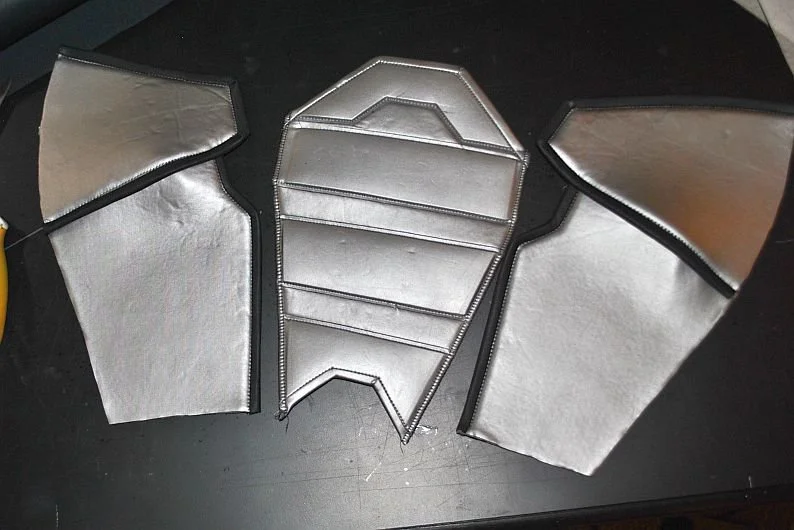
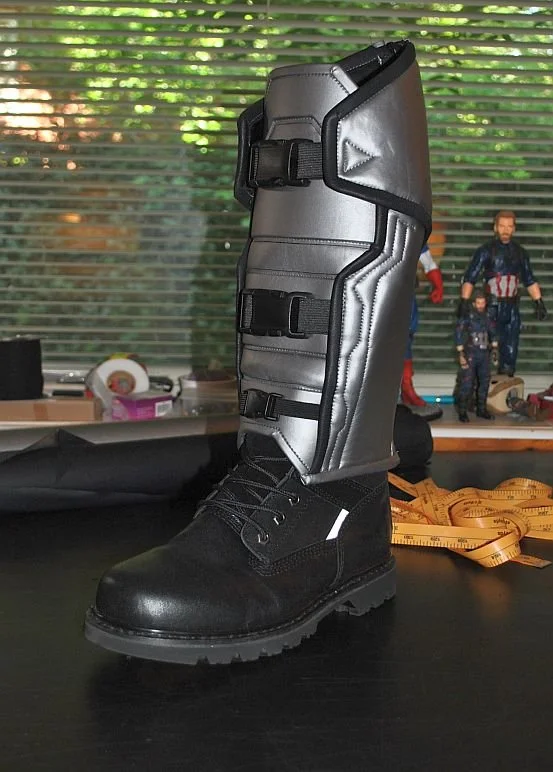
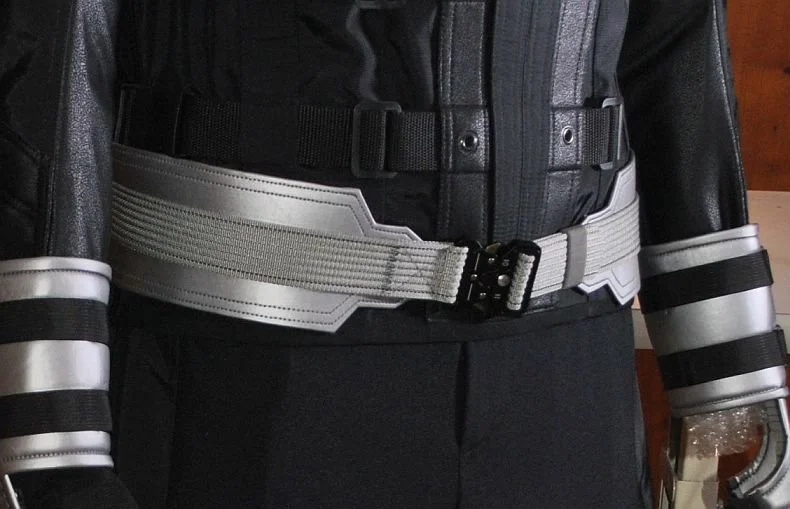
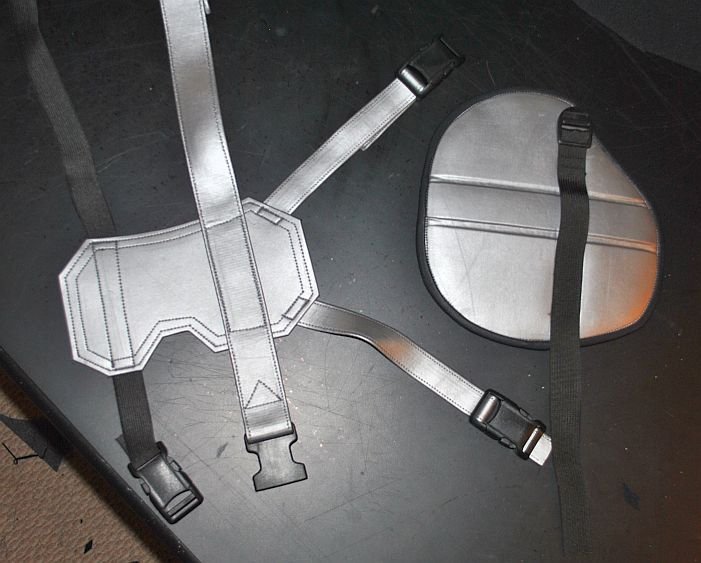
Bullseye has gauntlets, boot covers, a belt, and a leg holster. All of the pieces were created using a base layer of headliner (the belt has a base of upholstery-weight faux leather for stability) and were then built up with gunmetal faux leather and detailed with black straps and buckles.
Here are the gauntlets:

And, the boots (as well as a slightly blurry phone pic of how they fit with the pants). Once the foam base was complete, the lower surface was covered in thin foam to add padding.

And, finally, the belt and holster. The holster is shown here in two pieces: the base with the straps that hold it to the belt and around the thigh, and the actual holster that was then attached to the flat base.
And, here we have the entire costume assembled.
