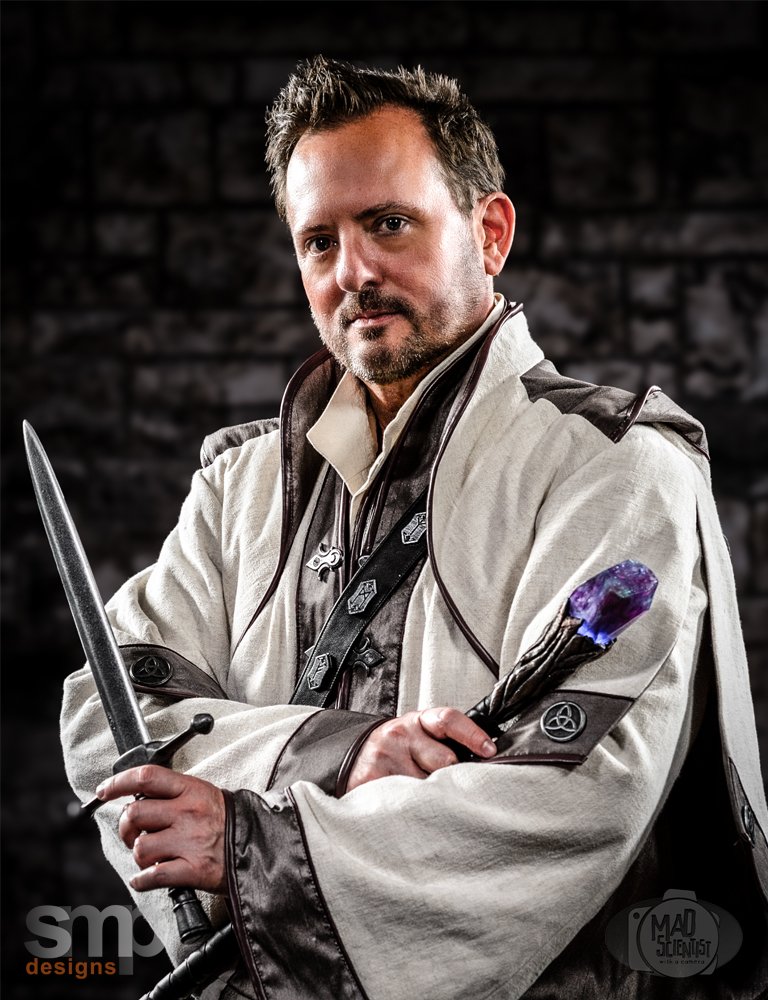
RPG-style Mage Concept
I’ve been enjoying some fantasy builds lately, and after my recent Rogue project, I wanted to create a new original character to join his ‘party’. This time, I’m working on a mage. I want this mage to be mostly light but have some hints of darkness. The overall style for this character is more scholarly and aristocratic rather than a wanderer. He’s also more mature - an elder mage - wise but powerful.
As usual, I gathered some images to use for inspiration.


Armed with my inspiration and a sense of adventure, I got started on pattern development.
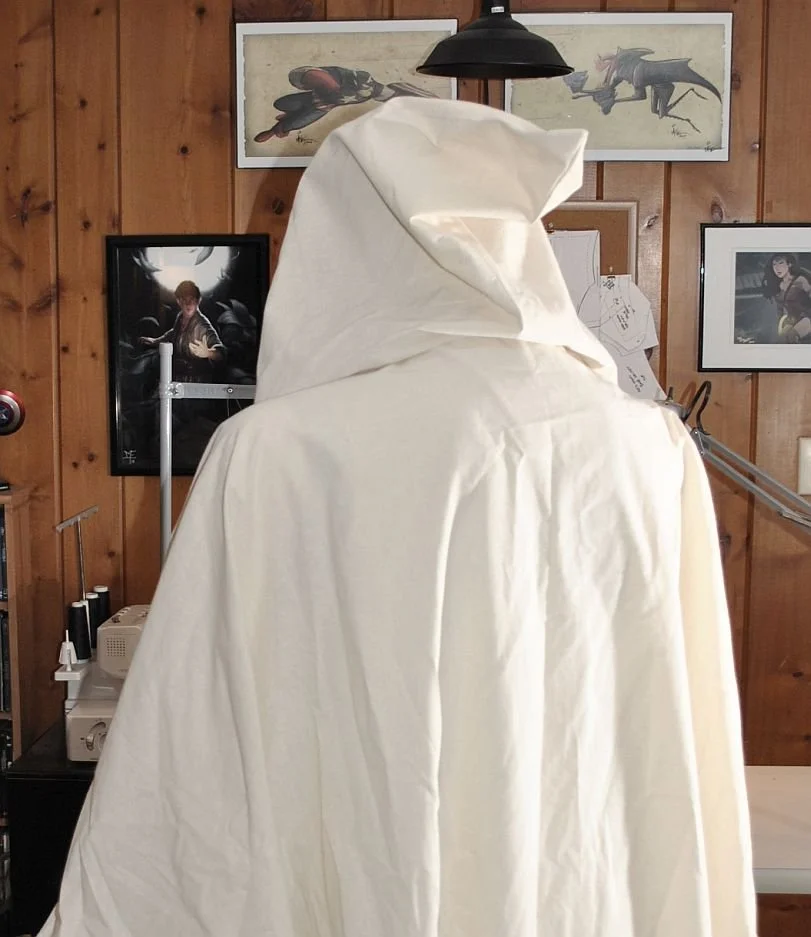
I began by working on a new hooded cloak pattern. Since this character is a companion to the Rogue, I want him to be part of the same world and am taking some of the design and style elements forward to the new mage.
The cloak will have a more oversized, pointed hood than the Rogue but will still feature a yoke/harness to form it to the shoulders. This one also has a rounded cape. I tested the pattern in muslin first.

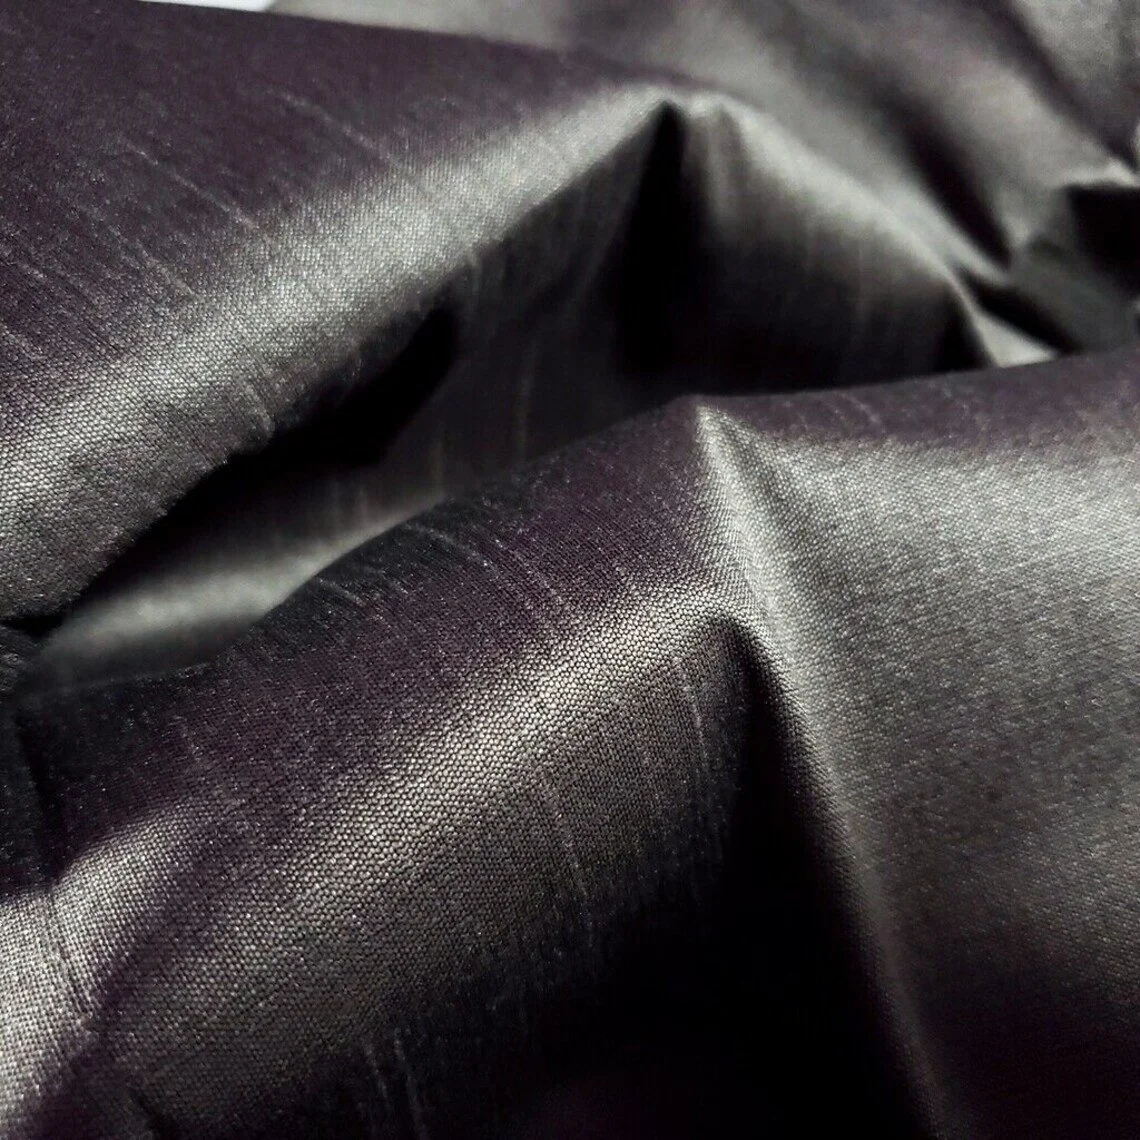
This project has two primary fabrics: ivory linen with some grey and brown flecks and gunmetal grey dupioni. Some details include piping made of deep red taffeta and burgundy faux leather edging.
For links to some of my favorite fabrics and suppliers (including the ones below), visit my Pinterest board.


Once I was happy with the pattern, I started with the hood. I decided that ivory linen would be the main fabric for the garments, and grey dupioni would border and line the pieces. The piping details the seams where the grey meets the ivory, and the faux leather finished all the edges (kind of a hallmark of my design style).


The shoulder yoke has a back piece that goes over the shoulders, a front that forms the base for the straps, and a stand collar. The cloak/drape and hood are sewn into these two pieces at an angle that makes them drape open at the front and show off the robes underneath.
The yoke pieces were layered with muslin and headliner foam to give them structure and lined with grey dupioni. Once assembled, all of the pieces were edged with faux leather.


The next layer I wanted to create was a base robe - an inner vest that would fit over the foundation shirt and pants and under the outer robe. I decided to make this layer entirely in grey dupioni and give it some simple edge details with ivory soutache and burgundy faux leather.
This vest is lined in muslin and has a hidden zipper in the front.


With the base robe complete, I wanted to get started on the outer robe. I decided to make this piece in ivory linen with grey accents on the edges. I started by developing a basic body pattern to fit over the grey robe.
When I was happy with the fit on that piece, I measured out the grey border for the center front and cut that off the base pattern along with the collar to create a seamless border around the edge of the robe.


I wanted to build the bottom of the robe with angled tabs that would tie this costume together with the companion Rogue costume.
I drew these pieces out, made them out of ivory linen lined with muslin, and added the grey piped borders to the lower edges. The upper front was also constructed in muslin-lined ivory linen.
I lengthened the front border/collar pieces to extend down to the tab points and attached that next. The back tabs were made the same way and added at the waist.


I then moved on to the sleeves. I didn’t want basic oversized “wizard robe” sleeves - I wanted them to be a bit more tailored and have some shape. I used the gambeson sleeve patterns from my Witcher Skellige Undik project and widened them only below the elbow and tried to maintain a somewhat conservative scale.
I stitched the front seams of each sleeve and then drew out the border. The border was attached with the sleeves flat and then the back seam was stitched and the sleeves lined with grey dupioni.

At the same time, I created a simple wide sash to serve as the base for the belts and accessories to come. All remaining edges of the outer robe and the sash were bound in burgundy faux leather at this point as well.
Here are the robes and sash together at this point.


At this point I wanted to create the base pieces for the costume. I made an ivory linen shirt with a stand up collar and full sleeves and a pair of grey dupioni pants.


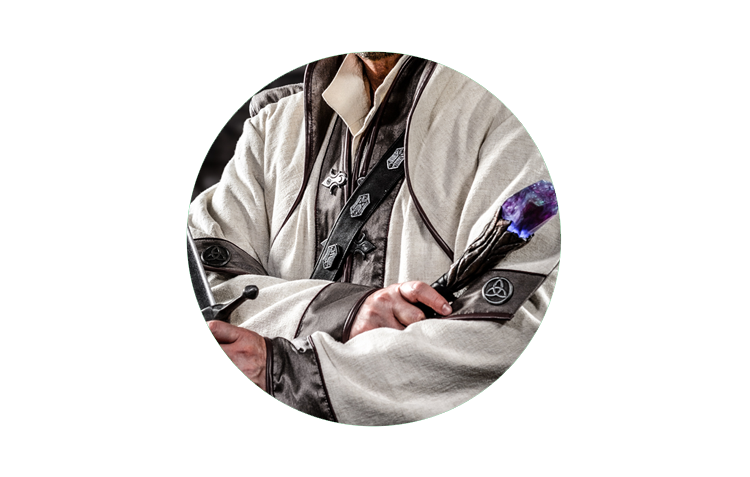
Now, it was time to think about hardware and details. I collected some molds with interesting patterns and motifs - some from Amazon and some from past projects - and started casting a collection of runes, and medallions.
Once I decided how I wanted to use them, they were all hand painted and glued to the borders of the robes.


Some of these pieces were used to create the ‘clasps’ for the outer robe. To close that robe, I hid a lightweight zipper under the binding on the front and then glued the ‘clasp’ pieces to look like they were functional.


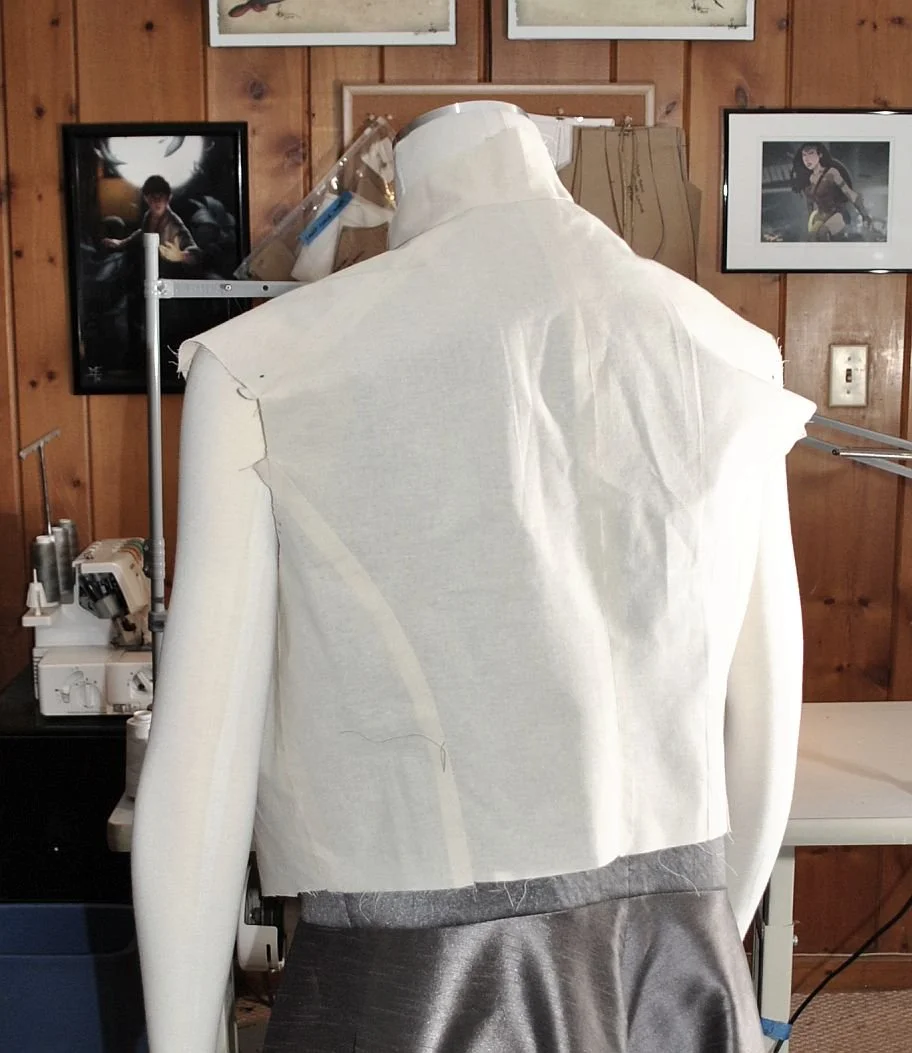
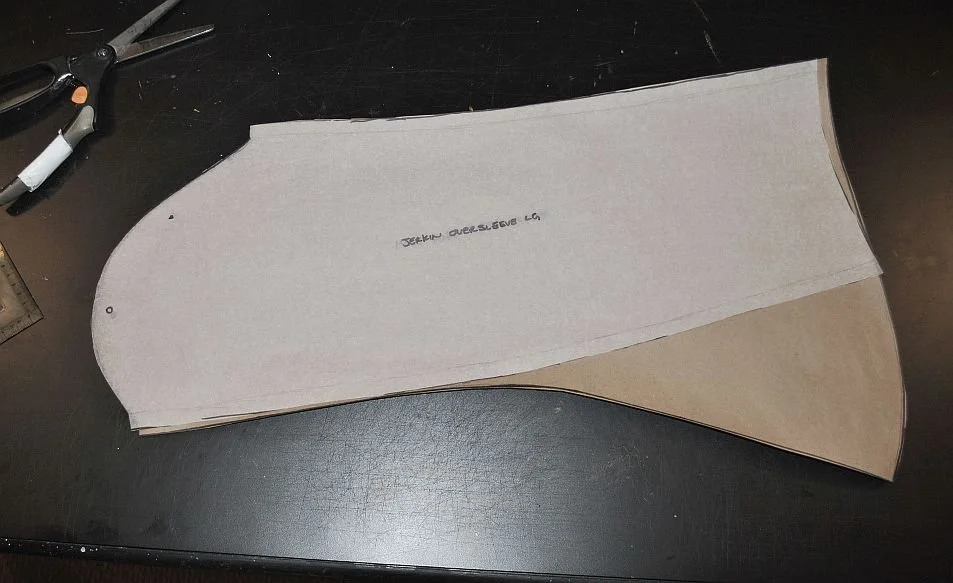
Along the way through the process, I decided I wasn’t happy with the cloak and shoulders concept that I made with the hood. I decided to reimagine that outer piece to be a little more tailored and carry through some of the other angles on the other pieces.
I revised the pattern to sweep back under the chest and create a point below the waist in the back - a sort of fantasy version of a cutaway tailcoat. I also developed some oversleeves that would add a layer to the robe sleeves and be open down the outside of the arms.


To pull everything together, I added grey borders to the new hooded vest and some of the painted resin runes and medallions.


I then accessorized the costume with a wide belt and cross-shoulder strap decorated with some of the resin pieces I cast and painted, and a narrow belt with a rounded pouch.


Here are all of the costume pieces together before it went out to its first convention appearance.


And some of the images of the Mage in action!