RPG-style Rogue Concept

Having been working on many comic book and tactical-style costumes lately (as much as I love those), I wanted to go in a different direction for my new concept piece.
I’ve always been a fan of RPGs, fantasy, and games like World of Warcraft, Elder Scrolls, Dragon Age, and similar. So, I decided to create a new rogue costume. This costume design will also become a new pattern set on my Etsy shop.
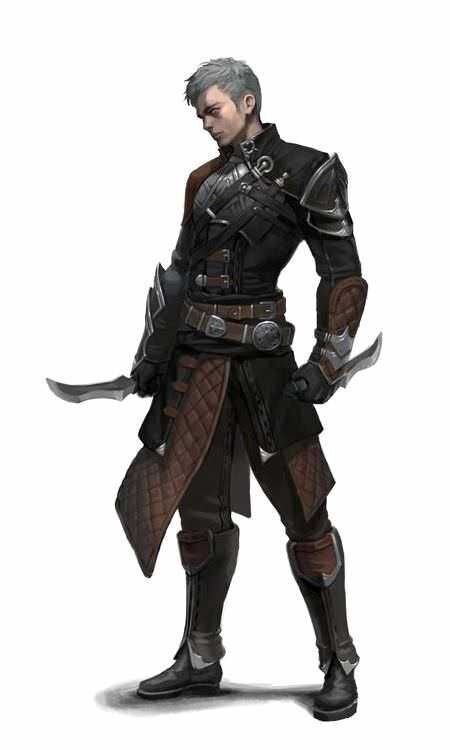
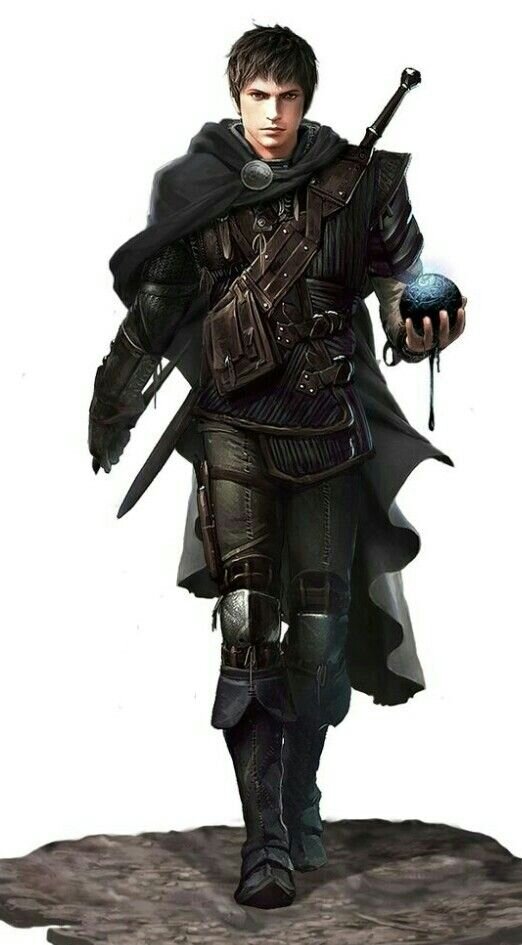
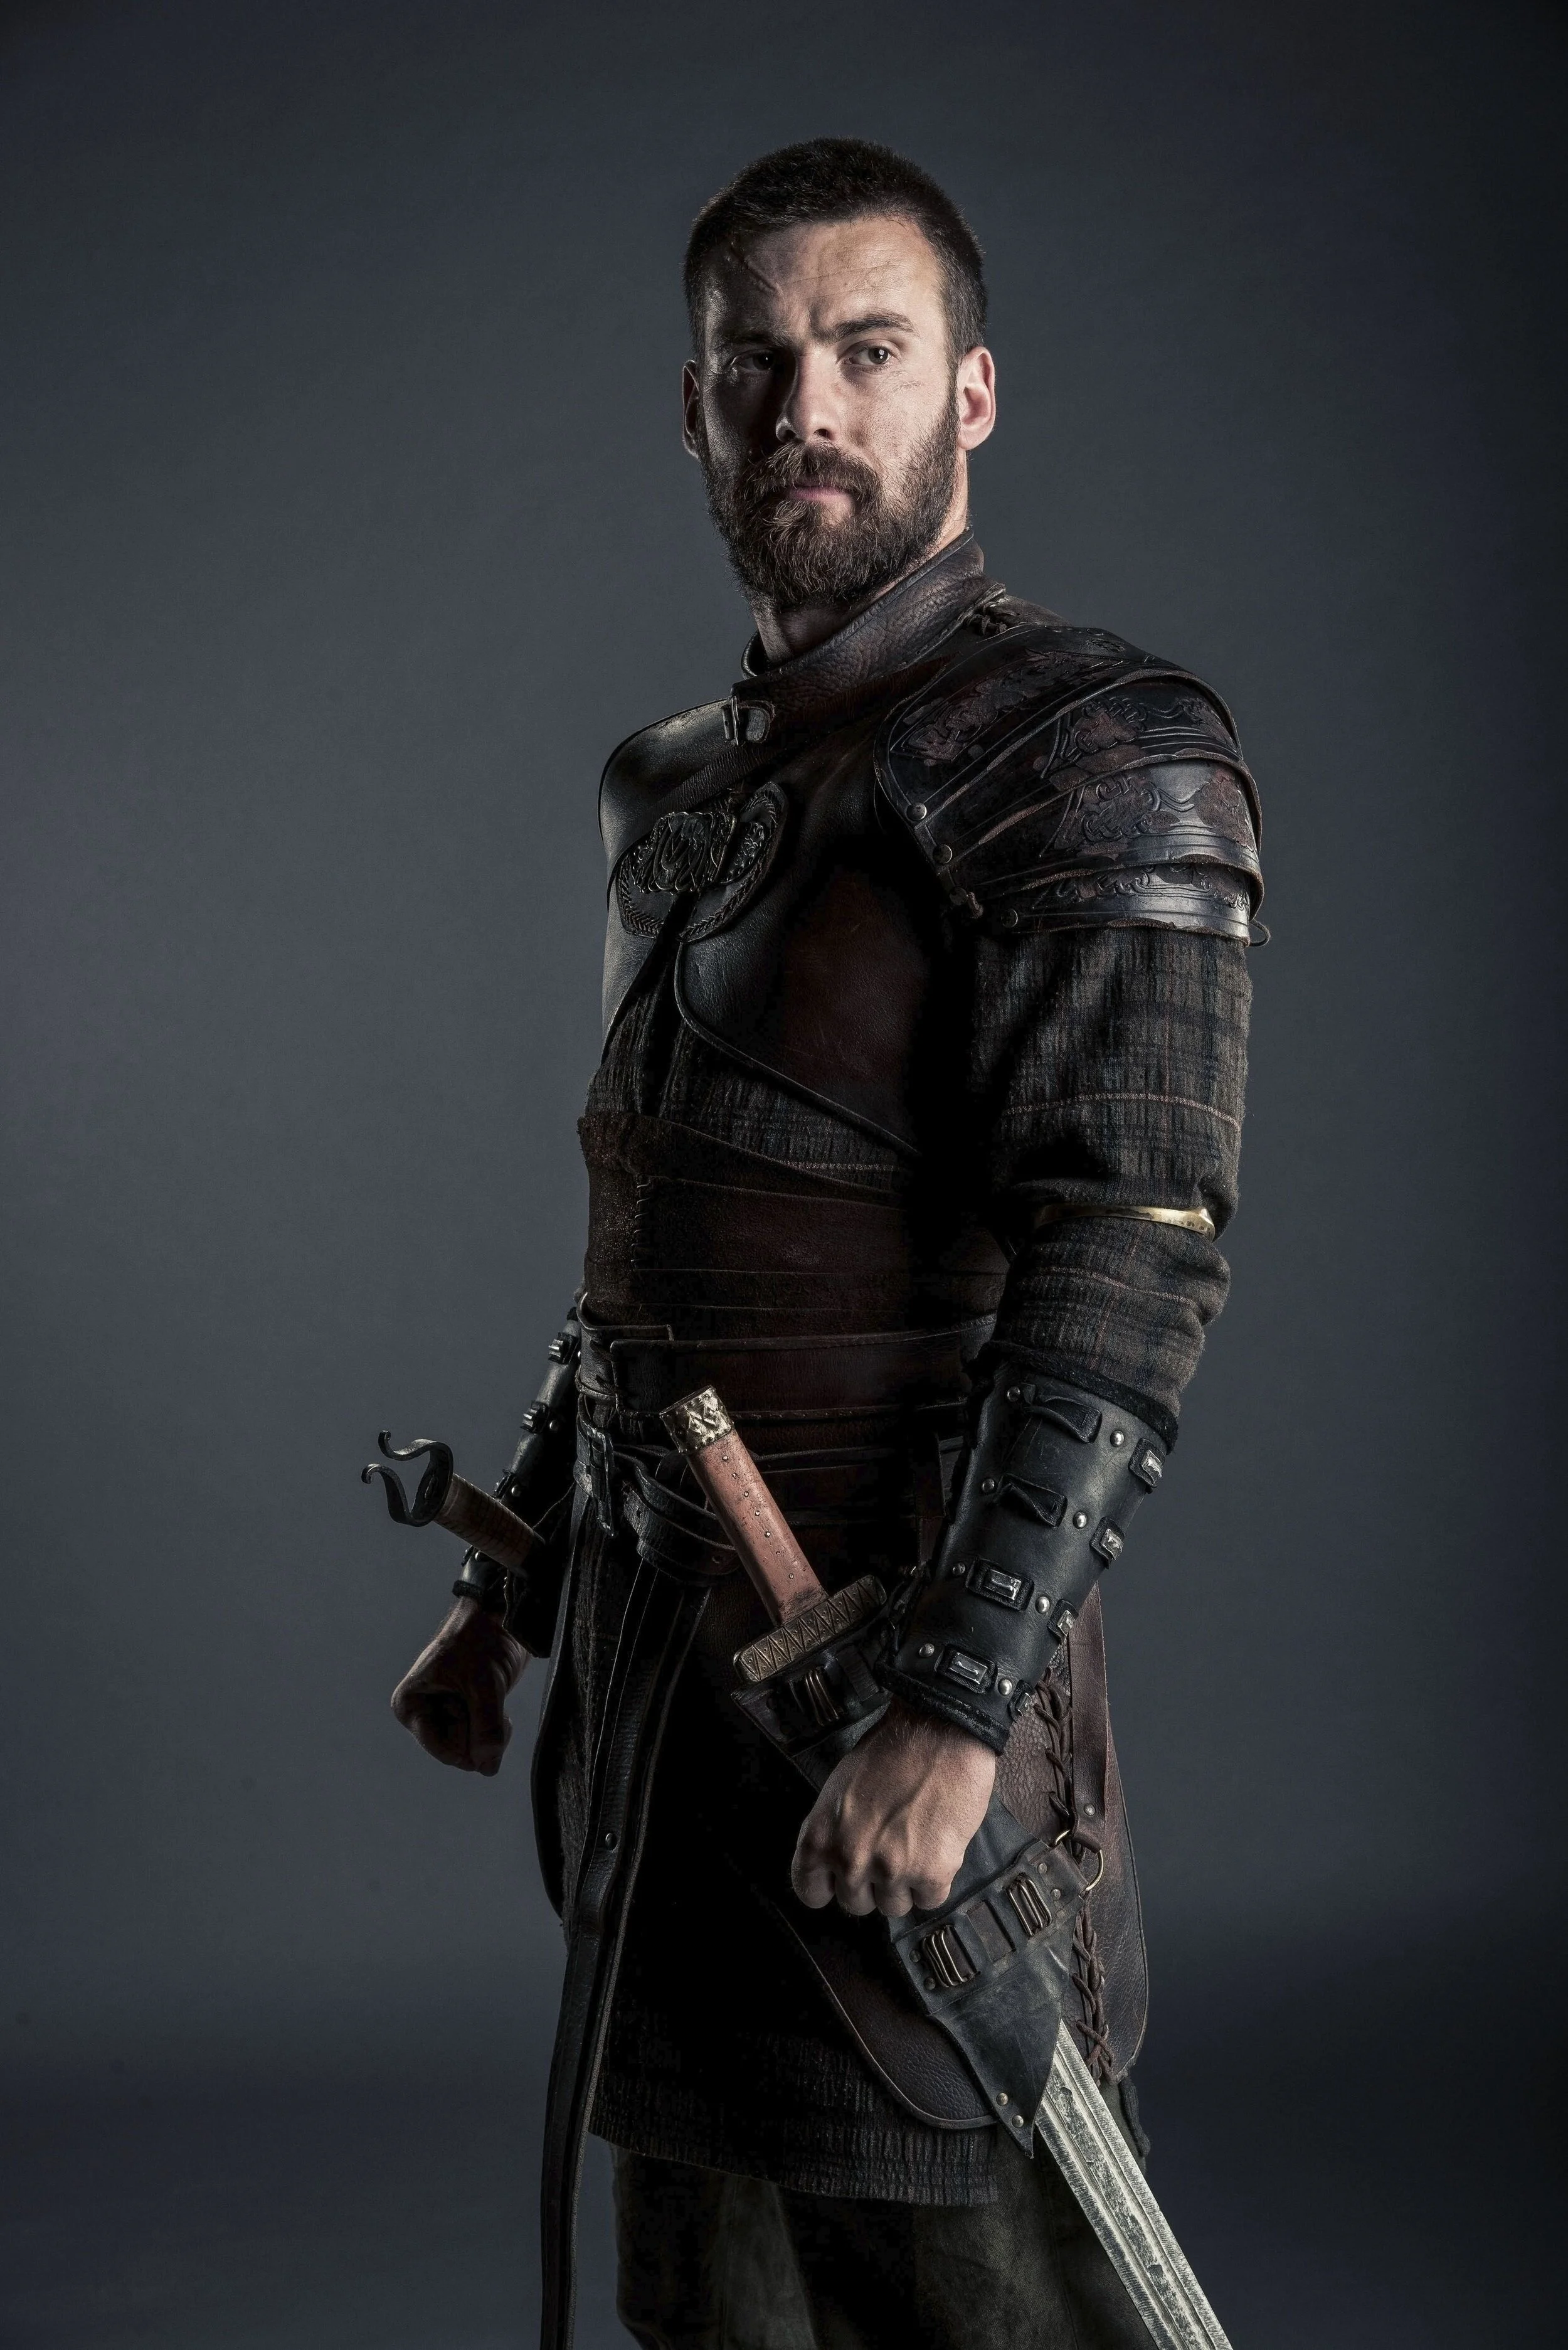
As usual, I gathered some images to use for inspiration.

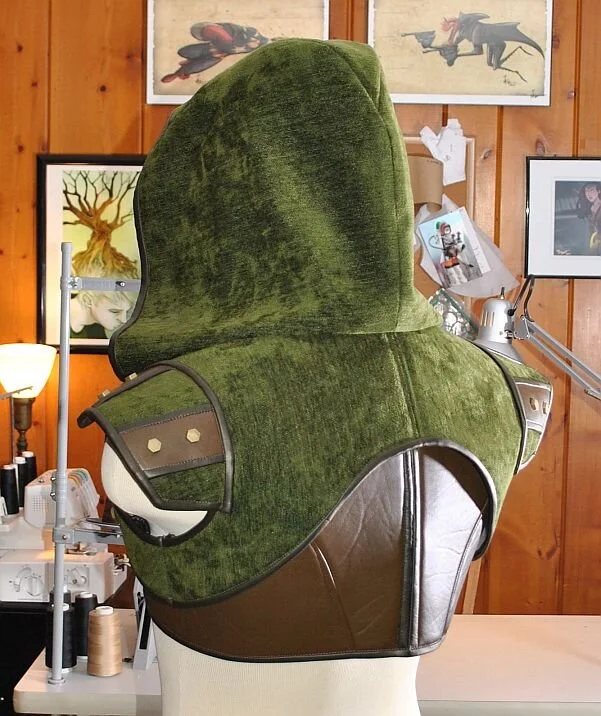
With some inspiration gathered and some ideas rolling around in my head, I decided to get started and see where things went. I began by working up a hooded harness, eventually forming a base for partial armor and a cloak.
I used a vest/harness pattern I originally created for Dr Doom with some slight modifications. I cut the back and shoulder pieces out of headliner foam and used Super77 to mount it to the back of a distressed green chenille.
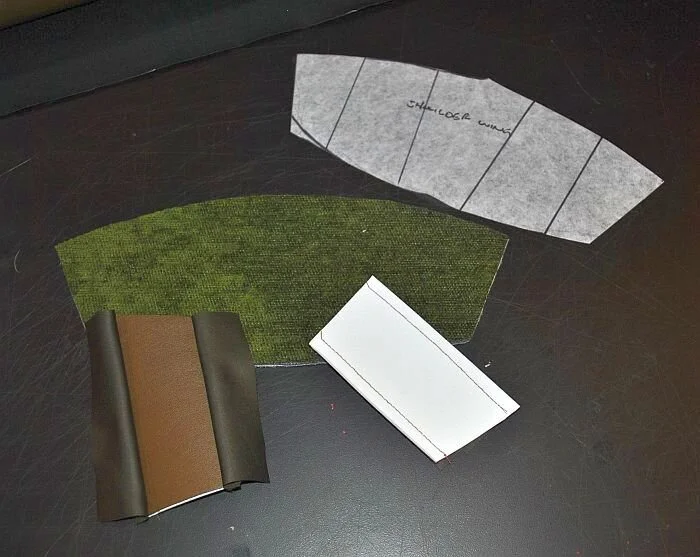
These pieces were assembled, and the edges were finished with dark brown faux leather. Next, I created some wings for over the shoulders. These were also cut out of headliner foam and covered in chenille. Then I cut stripes out of 2mm craft foam and covered them with medium brown faux leather. These stripes were also edged in dark brown leather.

The edges of the wings were finished, and they were added to the harness. Next, the hood was created from the green chenille, lined in bronze gauze, edged with dark brown faux leather, and attached to the harness. Details for the front of the harness were cut out of 2mm foam and covered with faux leather.
Once these pieces were assembled, the wings and front panels were detailed with bronze screw-back studs.


The next layer for the costume I wanted to create was a short leather ‘armor’ vest. For this piece, I modified another vest pattern I recently made and drew out the new pattern. This was also cut from headliner foam and covered with the same medium faux leather used on the hood/harness.
I also knew I wanted to stitch ribbing into the vest pieces, so I started thinking about the direction of the stitching and sketched some lines on the back of the foam (though I ended up going a different way on many of the pieces). The pieces were all ribbed separately and then assembled. The band on the front was also reinforced with 2mm craft foam to support the grommets that would be added.


I then created a collar for the vest, finished all the edges, and added the grommets. Here’s the vest by itself and with the hooded harness.


With these upper body pieces together, I began to think about what I wanted to do with the rest of the torso. I wanted to create a sort of gambeson, but I wanted it to be lighter, not so bulky, and a little more ornate - a hybrid between a gambeson and a jerkin.
I started with the sleeves. I’d known from the start that I wanted bicep-length sleeves for the upper body, the shirt to show through at the elbow and the gauntlets to be elbow-length. With that in mind, I drafted a simple sleeve pattern modified to be tied onto the body of the rest of the garment, not sewn-in.
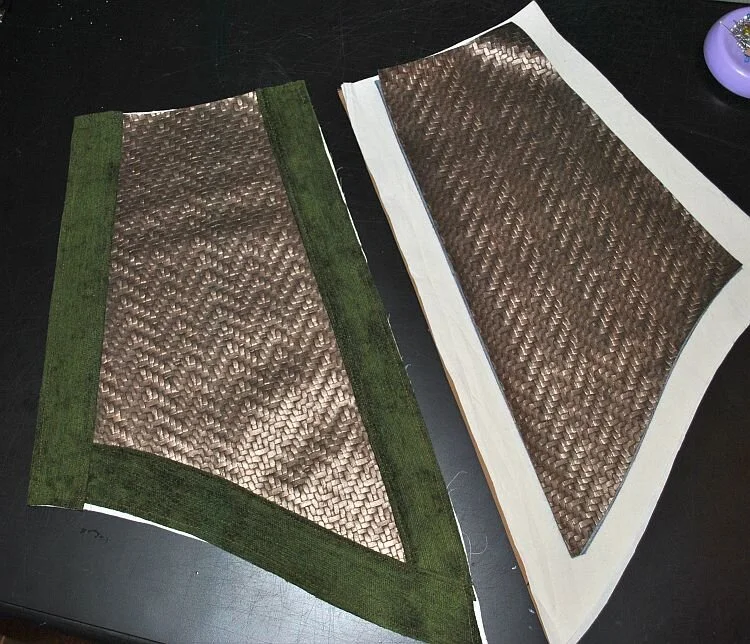
I then mapped out a ‘woven’ style for the fabrics (inspired by the MCU Loki) and set about putting the sleeves together using a headliner base (I wanted that lightly padded, quilted feel of a gambeson, but not bulky), a nice woven fabric in a diamond pattern (remnants from some cushions I made for my flat) and green chenille and brown brushed cotton.


The top and bottom edges of the sleeves were then bound with faux leather. I tested them with the rest of the completed pieces and then began the pattern for the rest of the gambeson/jerkin.
I used a base pattern - a ‘sloper’ - to create the body of the garment and adjusted the armholes to match the sleeves and the neckline to work with the vests I’d already made. The ‘skirt’ part was drafted to fit the waist with a slight flare.


I knew I wanted to pull that woven detail from the sleeve and decided to do it on the back. I created an insert in the back below the waist that created an upside-down version of the sleeves.


The rest of the body was built with diamond and brown accents at the front edges and tested with the sleeves.
After consideration, I decided that I didn’t care for the straight hemline of the piece and decided to pull a page from the Assassin’s Creed playbook, curve the hem over the hips, and create separate leg extensions. So the extra hem was cut away, and the hem was refinished.


The leg extensions were modified from patterns from an Edward Kenway project.
I decided to use a bronze-colored faux leather embossed with a woven texture as the base for these pieces, edge each tab with green and brown and stud them with the same findings used on the hooded vest.


The next step for the torso was to set in the grommets and tie the sleeves onto the jacket.
I used a fabric cord for all the lacings tipped with bronze findings. The sleeve ties are tipped with bolo tie ends in antique bronze.
These tips are too big to fit through the grommets, so the sleeves were permanently tied on, and the tips were attached afterwards. The functional laces are finished with smaller, more streamlined tips.


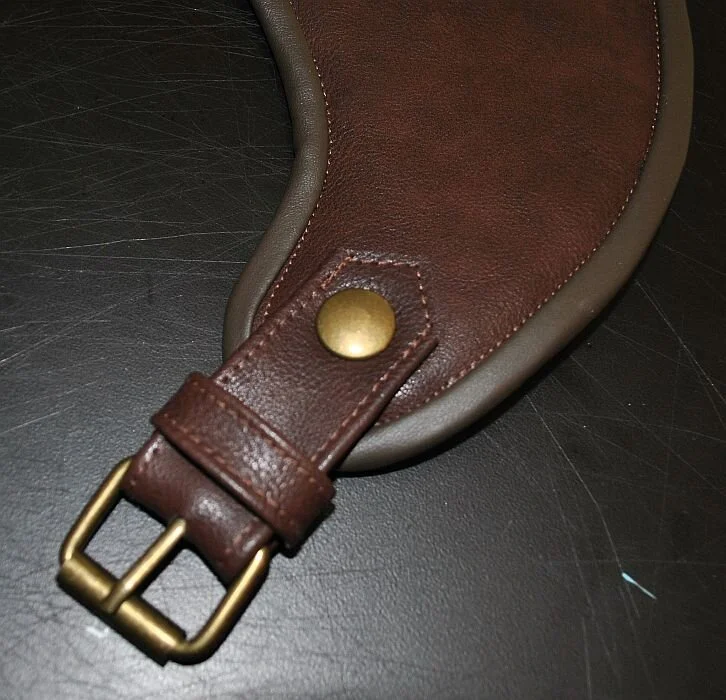
Next, I moved on to collecting details for the accessories and straps. I found an amazing Etsy shop that creates period hardware and ordered several hand-made buckles - one of which can be seen on the belt for the hooded vest.
I also turned to my long-time collaborator Jordan’s Ironic Armory to create a Celtic dragon motif.


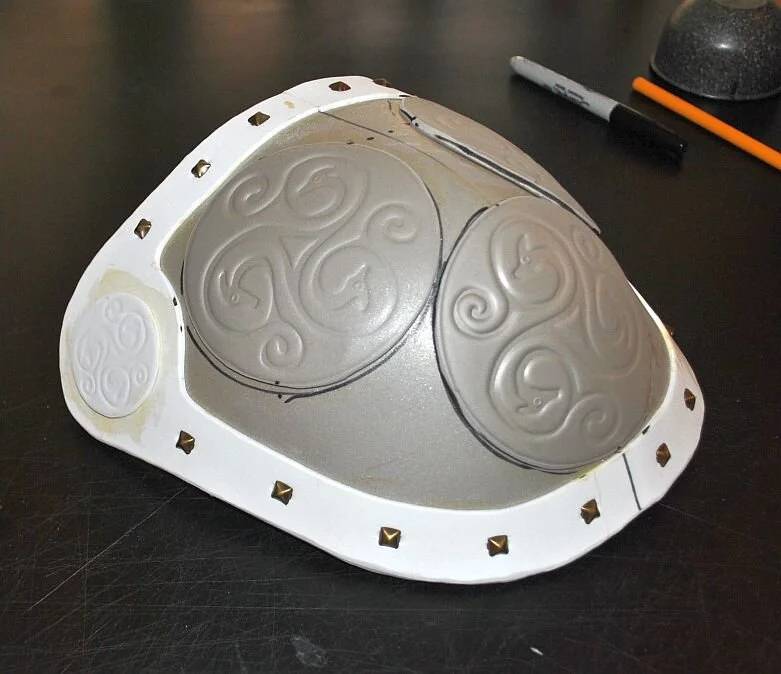
I also wanted to create some partial armor for this project, so I began drafting and mocking up patterns for a foam pauldron.


While deciding how to detail the foam armor, I discovered that if I heated thin EVA foam with my heat gun and then pressed the resin print of the dragon motif into it, I could emboss the foam with the pattern.
I created three large discs and two smaller ones for the main pauldron section. I cut them all out, and contact cemented them in place. I also made an edge detail and accented it with small studs.
The edges of the piece were rounded with a Dremel, and then the whole thing was coated with PlastiDip.


While working on the armor pieces, I decided to make the harness base out of a new faux leather that I found and began by backing the leather with headliner and edging the entire piece with the thin dark faux leather. I then created a buckle and strap set to close the harness under the arm and make it somewhat adjustable.
At the same time, I made the strap that goes around the chest to hold the harness and armor onto the body. This is one of the straps that will use the bespoke buckles I ordered from ReliquariaMedieval.


Here is the finished harness base with the straps attached. I used antique brass heavy-duty snaps from Tandy Leather for the ‘rivets’.


I then finished assembling the bicep part of the foam armor, created a bicep base piece, and used a scrap of excess strapping to test the fit of the entire shoulder together.


After test-fitting the pauldron to see how it wore and moved, I decided that the foam armor was too bulky and restrictive. I like the armor in and of itself, but it’s not suitable for this character. I decided to go in a different direction and create a more “dragon” style segmented pauldron.
I began by creating some base templates on poster board and linking them with paper fasteners. Once I had the base templates I wanted, I cut each piece out of headliner foam and covered them in the same ‘woven’ embossed faux leather used in the belt and skirt. Those pieces were also covered on the undersides with brushed cotton and edged in thin copper faux leather.
The straps for the bicep pad were then measured and attached.


The pieces were all test fitted to the rest of the costume. Next, they will be embellished with casts of the dragon motif that was 3d printed.


After taking a break from this build to work on other projects, I decided that I was still unhappy with the pauldron and decided to revise it. It still seemed off, and I decided to try a version with all flat segments rather than one that is meant to curve over the top of the shoulder.
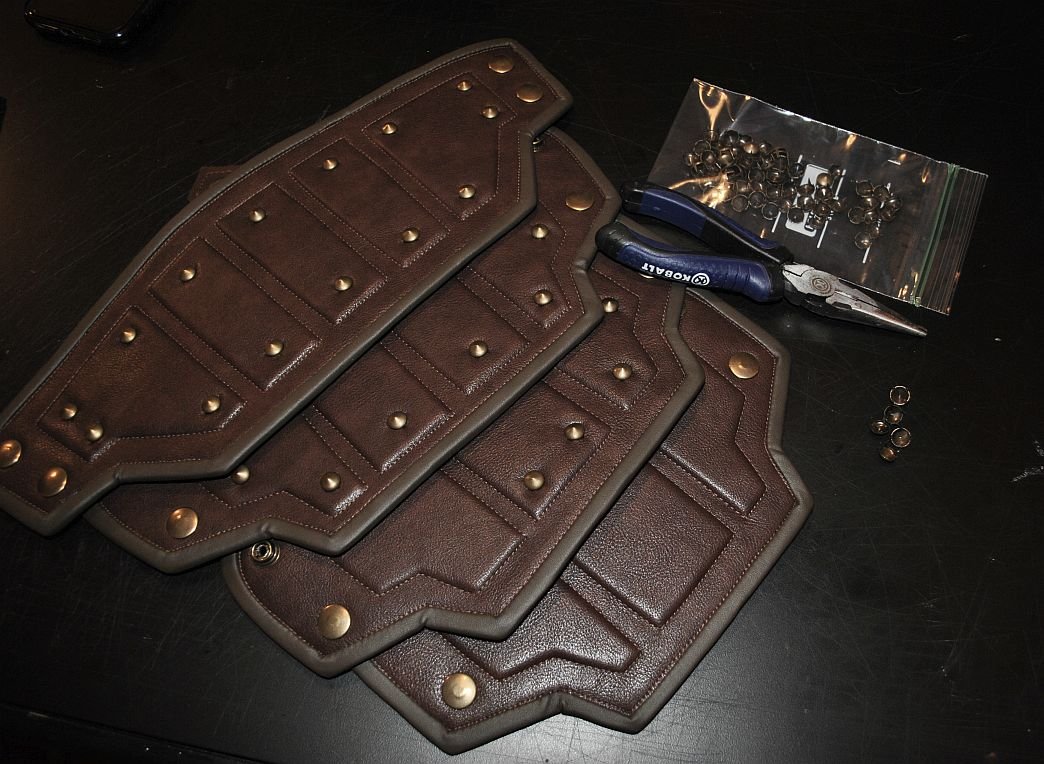
I created a new pattern on paper and sketched out some details for raised areas on each segment. I then traced two copies of each segment onto 2mm EVA foam. One of these layers forms the base, and the other is used to create the raised “tiles”. After cutting the tiles out of the second copy, I used it to trace placement lines on the base and then glued them down using Super77.


Next, I backed the segments with headliner foam to give them more stability and structure. Each segment was then spray-mounted to the back of brown faux leather and cut out. Each of the tiles was stitched down using a cording foot to lock all the layers together and reserve the detail lines.


After all the pieces were stitched and edged with thin faux leather, I used the same heavy-duty snaps with the bronze finish to create the “rivets” that attached the segments. I also added a strip of 2-inch wide elastic to the inside. The top of each segment was attached to the elastic strip to stabilize all the pieces and ensure that they stayed in the position when the arm was relaxed. A small tab at the very top has a snap that attaches to the vest. Then it was time to decorate all the raised tiles with bronze studs.


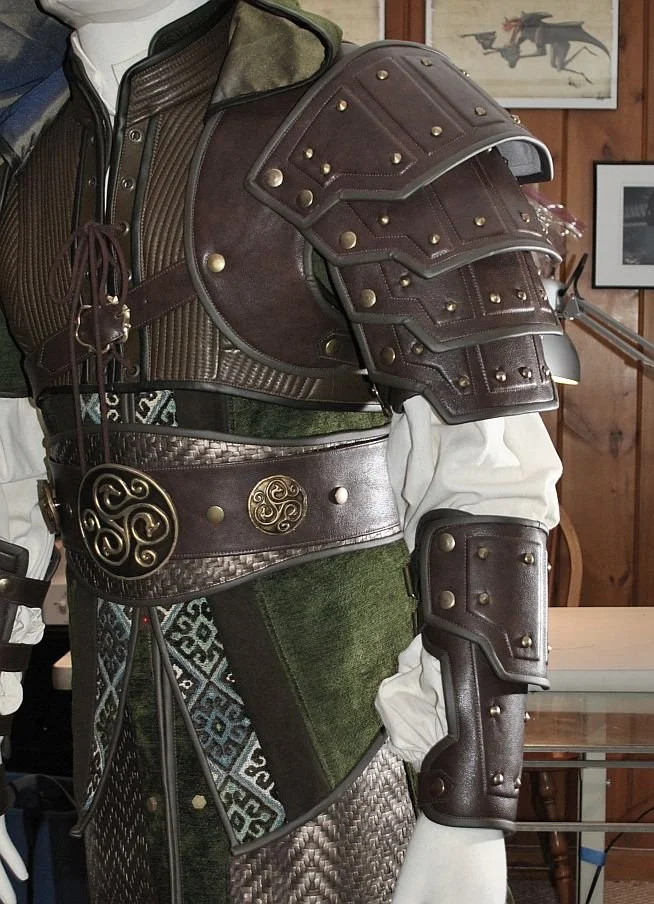
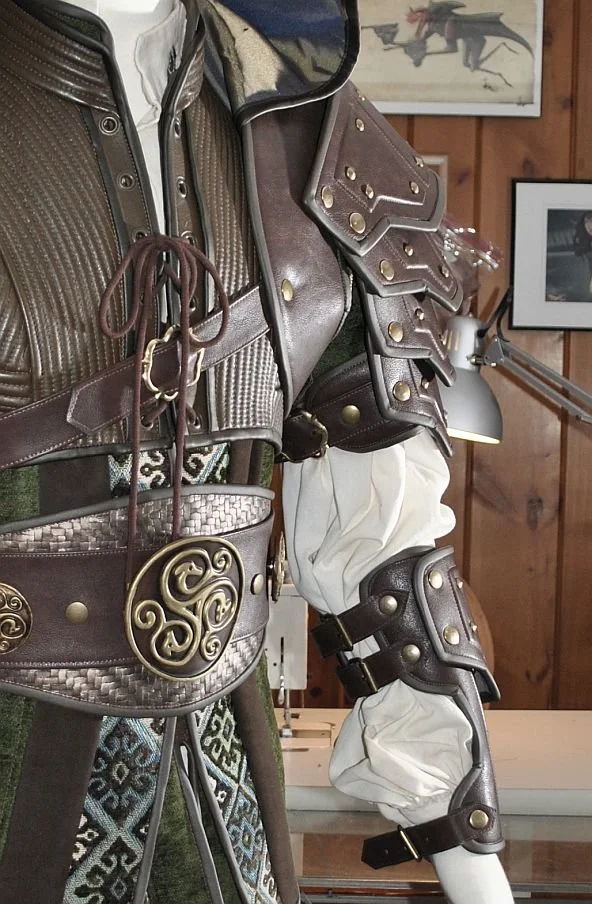
I’m using the same base vest/strap and bicep piece I made for the other versions. The pauldron is attached with three snaps on the vest and two on the bicep. Here are some images of the finished pauldron.
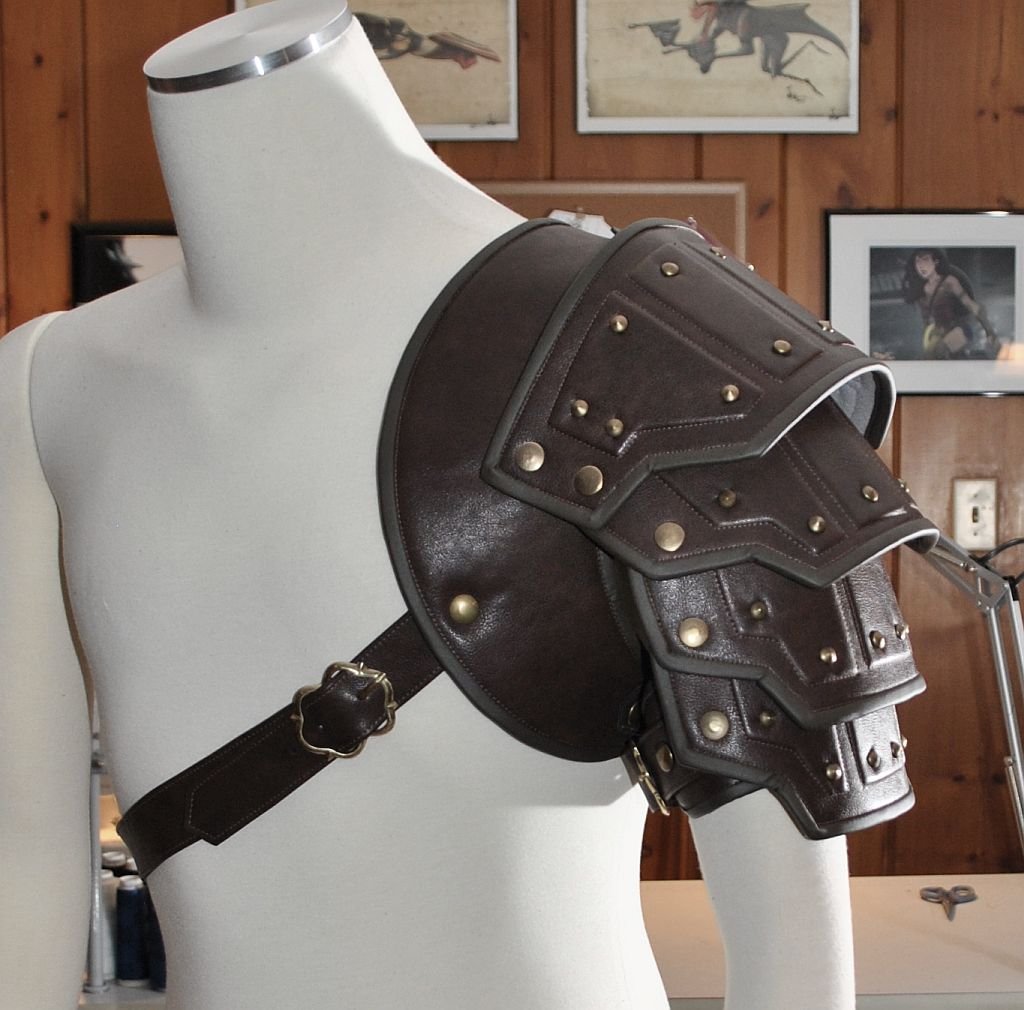
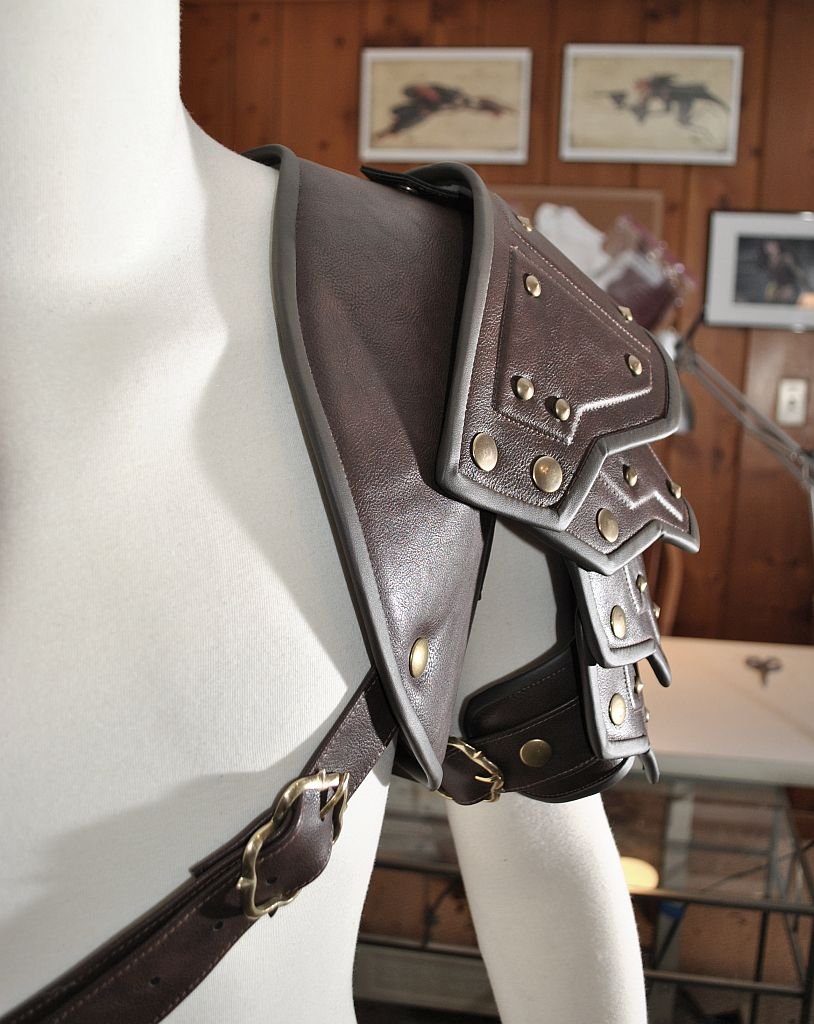
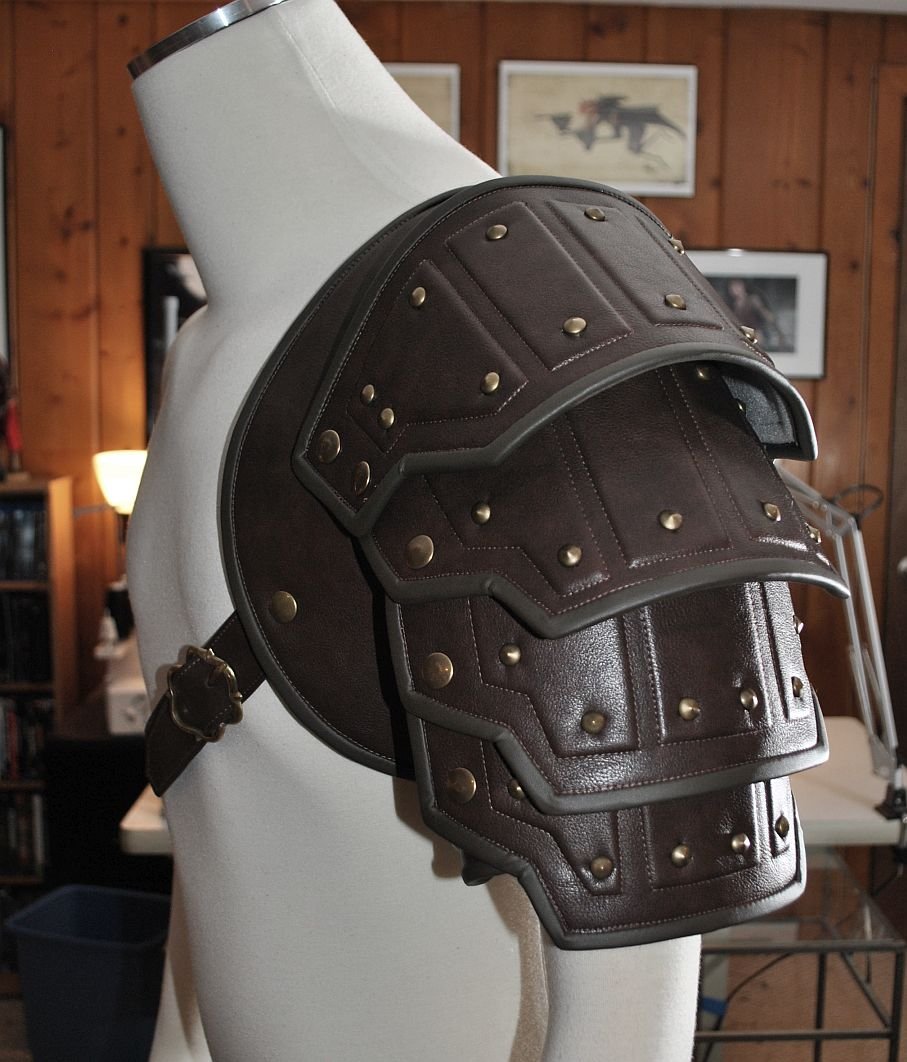
And with the rest of the costume so far.


At this point in the development of the accessories, I decided to make a mold of the 3d printed dragon motif so that I could cast copies to use on the rest of the pieces. I created a mold using Oomoo 25 and ran a few resin pieces with Amazing Casting Resin. To make the curves, I carefully pull the casting from the mold before it’s completely cured and then form it over something with the correct curve, such as part of a mannequin, a bowl or a can.
I then began painting them by spraying them with a base coat of bronze, airbrushing some black to create some initial depth, and then hand-painting the raised gold details and some additional weathering.


I knew I wanted to use one of the large ones as the “buckle” for the belt and two small ones as accents. I decided to use heavy-duty snaps to attach them, so they could be easily replaced if broken. I attached the snaps to small pieces of faux leather and glued them to the backs of the resin pieces.
I then made a 3” wide belt out of faux leather and attached the other sides of the snaps to that. I wanted a layered belt for the suit as I plan to connect more accessories, so I created a wider under-belt out of the same bronze embossed faux leather that I used on the “skirt” tabs. I attached the heavy-duty bronze snaps as “rivets” in four places to ensure the belts were secure and wouldn't shift during wear.


With the belt assembled, I started working on ideas for the gauntlets. I used s few of the templates I created for Prince Dastan as a base, made some new paper patterns and sketched out some details.
Then, using the same method as the new pauldron, I created the gauntlet by layering 2mm craft foam on top of the headliner foam. That was then covered in faux leather, the edges finished with binding and straps with bronze snaps added for closures. I thought about using laces for the gauntlet but realized there would be no way for me to tie them, and I wanted to make this costume so that I could get in and out of it on my own.


I then set about decorating the primary gauntlet. The top and bottom bands have the hexagonal studs I used on the vest and “skirt” tabs, and all of the “panels” have the studs I used on the pauldron.
I made the hand plate the same way, decorated it with studs and attached the thumb strap around the hand. I used a 2” wide elastic to secure the hand plate (as it won’t be seen) to give it extra flexibility.
Finally, one of the small resin dragons was glued into the recessed circle at the top.


And here is the costume so far.


I decided I wanted the left arm to be different from the right. It adds some interest to the overall look and gives me a second gauntlet pattern for the shop.
I extended the pauldron design for the left arm and created the patterns based on the upper segments and base vest. I constructed the base first and added the straps. Again, I wanted to make the gauntlet an “extension” of the pauldron so it buckles under the arm and has an open section referencing the vest and bicep from the pauldron.
The upper segment was assembled, and snaps were added to connect the two pieces. The gauntlet was then finished with the same studs used on the rest of the pieces.


Here’s the finished gauntlet with the pauldron and the rest of the costume so far.

Continuing with the accessories, I decided to tackle the boots next. I had a pair of costume boots that I’d pretty much worn out, but I liked the shape of the toe, and they fit very nicely. So, I decided to take them apart down to below the ankle and use them as the base shoe for these boots.
I started the pattern by making a masking tape cast of my leg up to the knee with the shoe on. I then took that cast apart and created a base pattern on paper.


The base boots were built using the same brown faux leather as the other accessories and headliner foam for the lining. They have zippers down the inner sides, are the bottom edges were bound in matte black spandex to blend in with the very thin sole.
The decoration for the boots is similar to the left gauntlet - there is a large shin plate and a smaller plate at the top just under the knee. These plates attach with heavy-duty brass snaps, like the arm pieces, and feature straps and buckles. A plate also goes over the upper just behind the toe. These were all decorated with the same studs as the arm pieces.
They snapped onto the base boots on both sides to ensure the shin details remained in place. So, the straps are decorative but still need to be functional so the boots can be unzipped.


Once all the pieces were complete, the boots were glued to the base shoes along the sole line. Here are the finished boots.


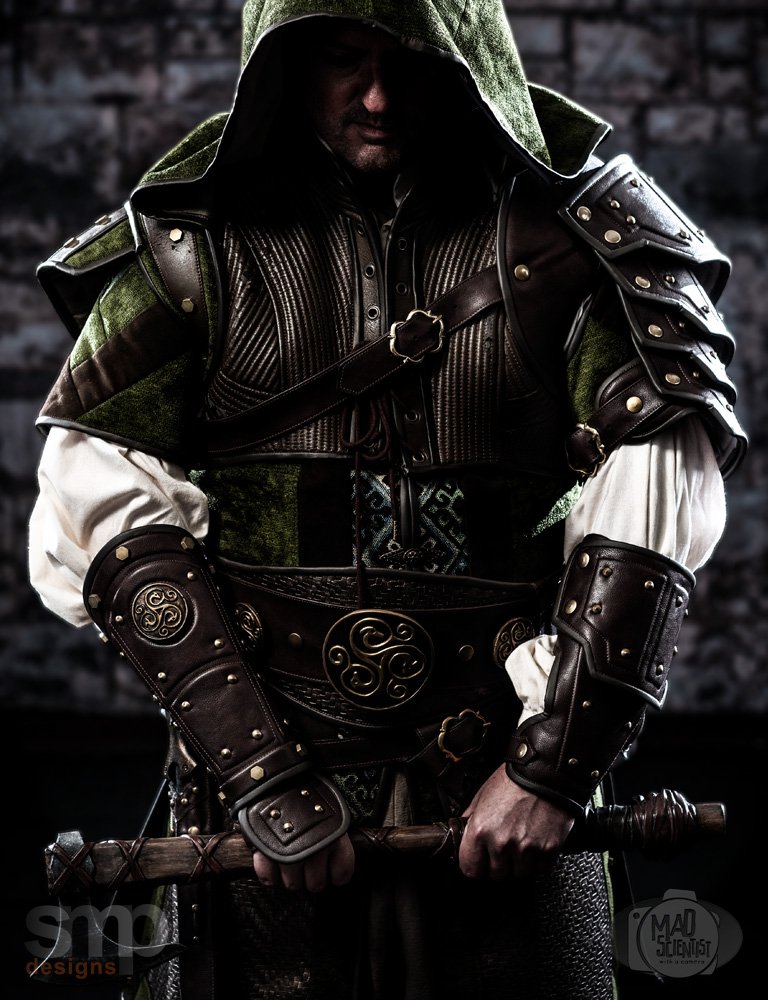
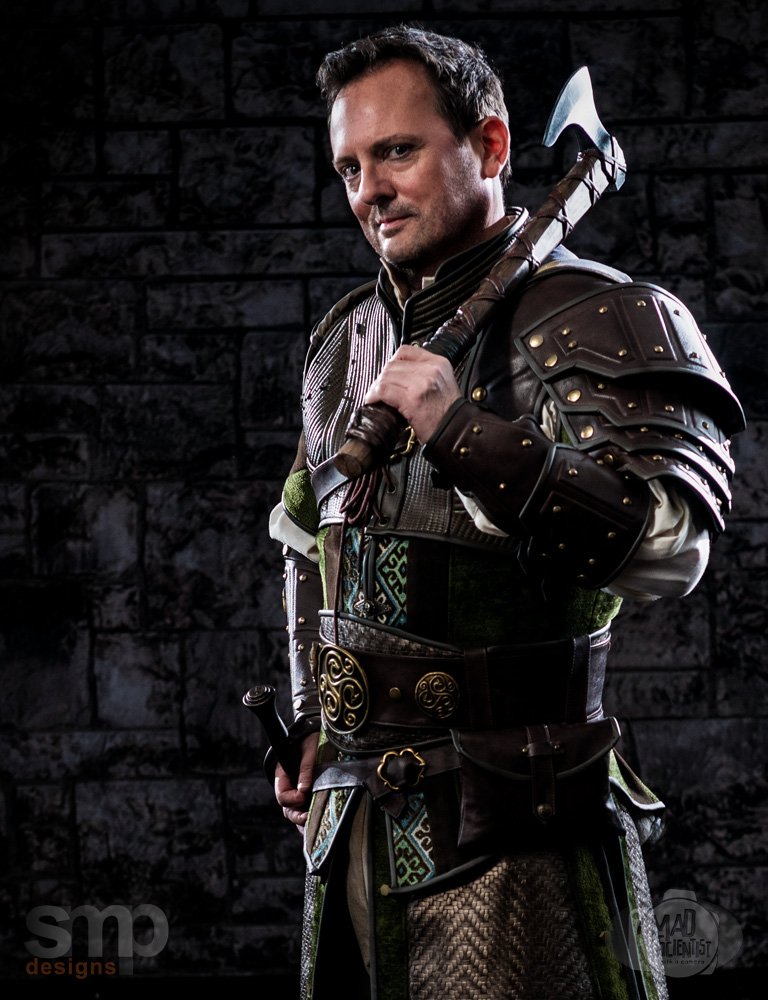
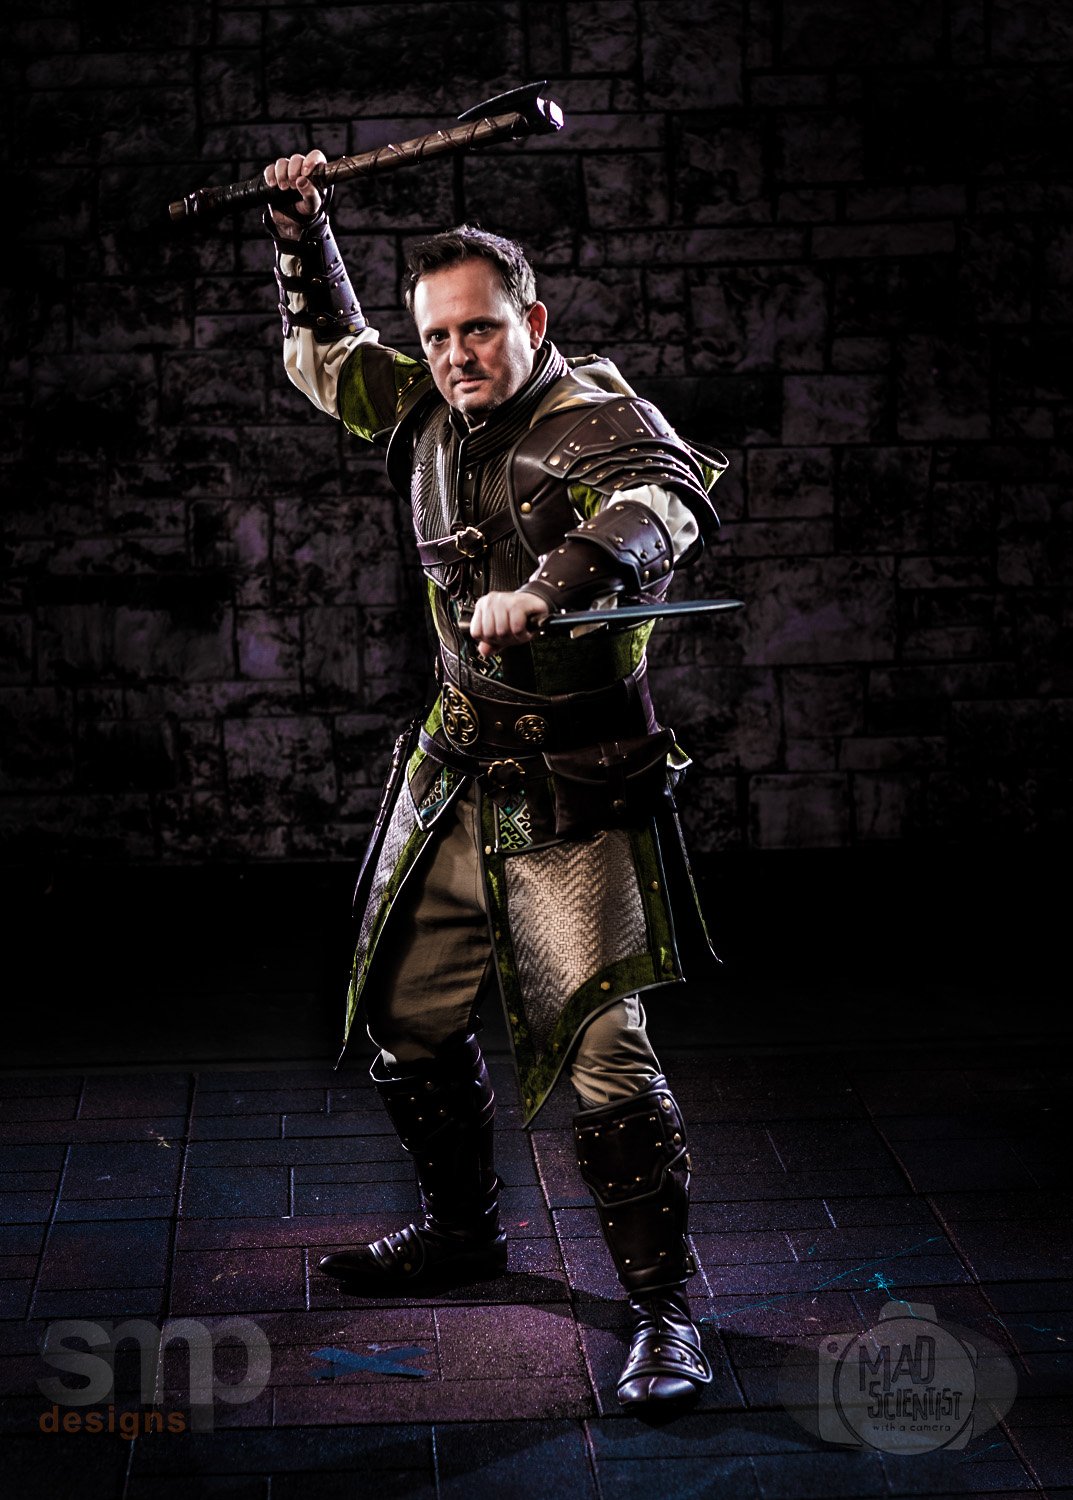
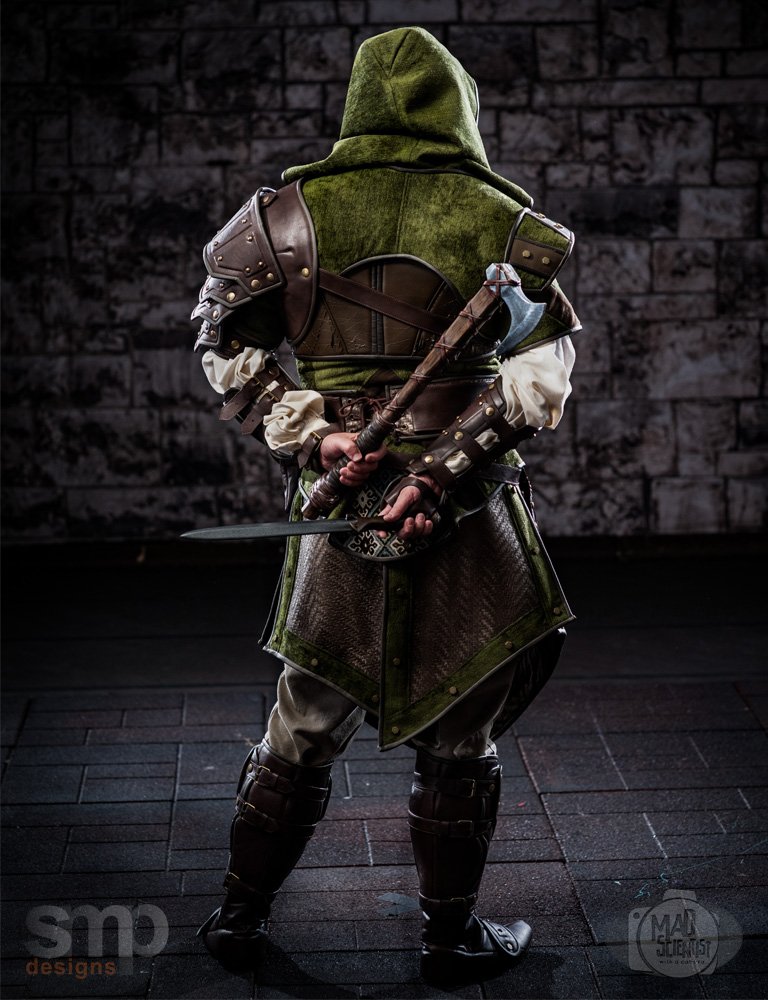
And, the final costume.